
Why Is My Toilet Bubbling When The Shower Is Running?
It can be alarming when your toilet starts bubbling madly whenever the shower is running. Many homeowners experience this phenomenon, and it’s usually a sign of an underlying issue in your plumbing system. The good news is, in most cases, it’s a problem that can be diagnosed and repaired with some basic maintenance. In this article, we will explore the common causes, solutions, and preventative steps you can take for a bubbling toilet. Additionally, you’ll know exactly when it’s time to call in professional help. Let’s get to it!
Common Causes
There are several common culprits behind a toilet bubbling when the shower is running. One possibility is that there is a venting issue between the toilet drainage pipe and the shower drain line. All plumbing requires proper ventilation to allow air to freely enter the system. If the vent stack connecting the toilet to the shower drain becomes blocked, it can force air bubbles through the toilet water.
Another potential cause is a partial clog or blockage in the shower drain itself. Slow drainage downstream in the shower pipe can back up water into the connecting main line and force it to bubble up through the toilet bowl. Essentially, a clogged shower drain can restrict water flow enough to come out the path of least resistance – your toilet.
Drainage problems further down the main sewer line can also lead to toilet bubbling when the shower runs. Any obstructions downstream in the larger main drain line can limit flow from the branches entering it. This often pushes sewer gases back up through the toilet water.
Finally, an issue with the toilet fill valve itself can manifest as bubbling. Old, cracked, or defective toilet valves allow water to continuously seep into the tank and bowl. When shower water enters the main line, it displaces this excess water in the toilet and causes bubbles.

Diagnosing and Addressing the Issue
Figuring out why your toilet bubbles when the shower runs involves some strategic troubleshooting. Start by taking notes – does it happen every single time any shower or tub in your home is used? Consistent bubbling points to a venting issue or a problem farther down the main line.
Pay attention to whether air bubbles are coming up through the water, or if it appears to be actual water bubbling up. Air bubbles indicate some type of blockage in the vent system, which allows air pressure to build up. Water bubbles signal an obstruction downstream in the shower drain or main line that is forcing water the wrong way.
It’s also informative to check if your other sinks, tubs, and drains are slow or clogged throughout your home. If you have systemic drainage problems from multiple fixtures, that’s a sign of a larger issue in the main sewer line.
Once properly diagnosed, many bubbling toilet causes can be addressed by:
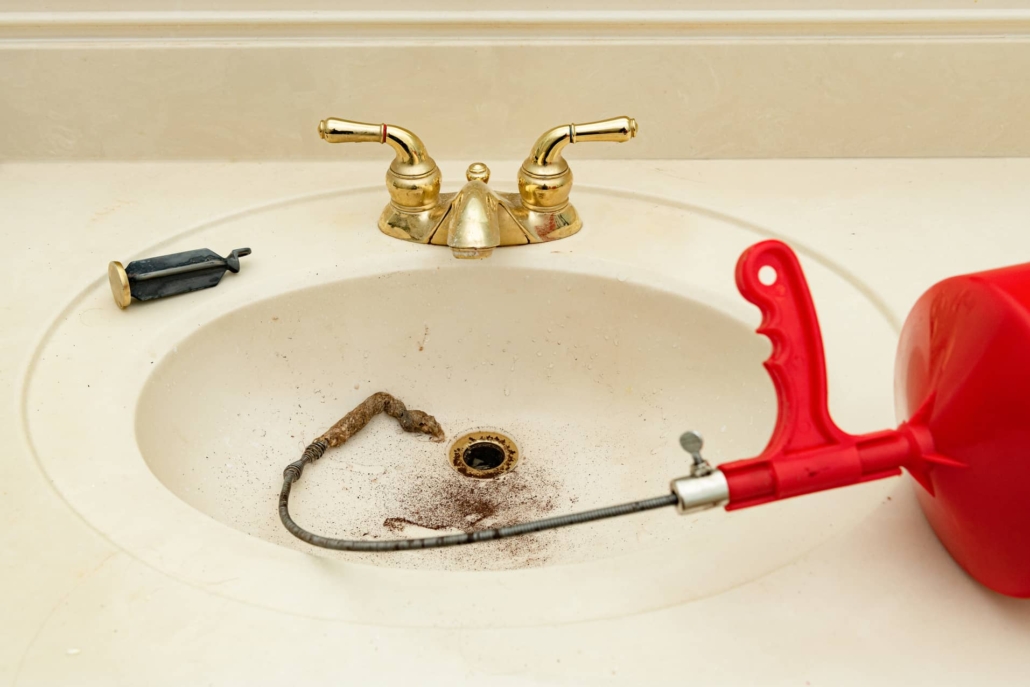
- Drain clogs can often be cleared with a plunger or snaking tool. Using a liquid enzymatic cleaner to break down organics may help with persistent shower clogs.
- Replacing a faulty toilet fill valve is the solution for leaks that allow water to continuously flow into the bowl and bubble up. Adjusting the flapper chain can also help get a proper seal.
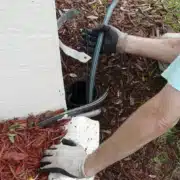
- If venting issues are the cause, getting on the roof to clear debris from the drain stack may be necessary.
Other Recommended Maintenance
It’s advised to pour a few gallons of water down any rarely used drains weekly. Letting water sit stagnant in pipes allows organic buildup and clogs to form. Flushing all drains keeps the p-traps full and maintains free flow. Just avoid overloading your system all at once.
Be very mindful not to pour fats, oils, and grease down your sinks or shower drains. As these substances cool and congeal, they stick to pipe walls and cause persistent clogs. Always collect cooking grease in a jar for disposal rather than risking pouring it down drains.
Installing hair catchers or mesh drain covers provides an effective barrier to collect hair and debris before it goes down your shower and sink drains. Cleaning these small strainers is much easier than snaking a clogged drain.
It’s also smart to check the condition of your toilet’s internal seals about once a year. Flappers, fill valves, and gaskets do wear out over time. Replacing these cheap toilet parts at the first sign of cracks or defects can prevent leaks into the bowl and bubbling issues.
Taking these preventative measures will minimize the chance you’ll have to deal with a bubbling, gurgling toilet after shower use again. But if it does happen, you’re now equipped to diagnose the cause and take action to restore free flow to your drains.
When to Call a Professional
If you’ve attempted to plunge and snake your shower drain to clear a clog, but the toilet continues to bubble, it may be time to call a plumber. Persistent bubbling indicates there’s a stubborn obstruction you can’t clear yourself. A pro has the tools to fully open the drain.
If all the drains in your home are perpetually slow and clog frequently, that points to a whole-home drainage issue. Plumbers can inspect your main sewer line for roots, damage, or significant grease buildup. They can then use high-pressure water jets to fully open the main.
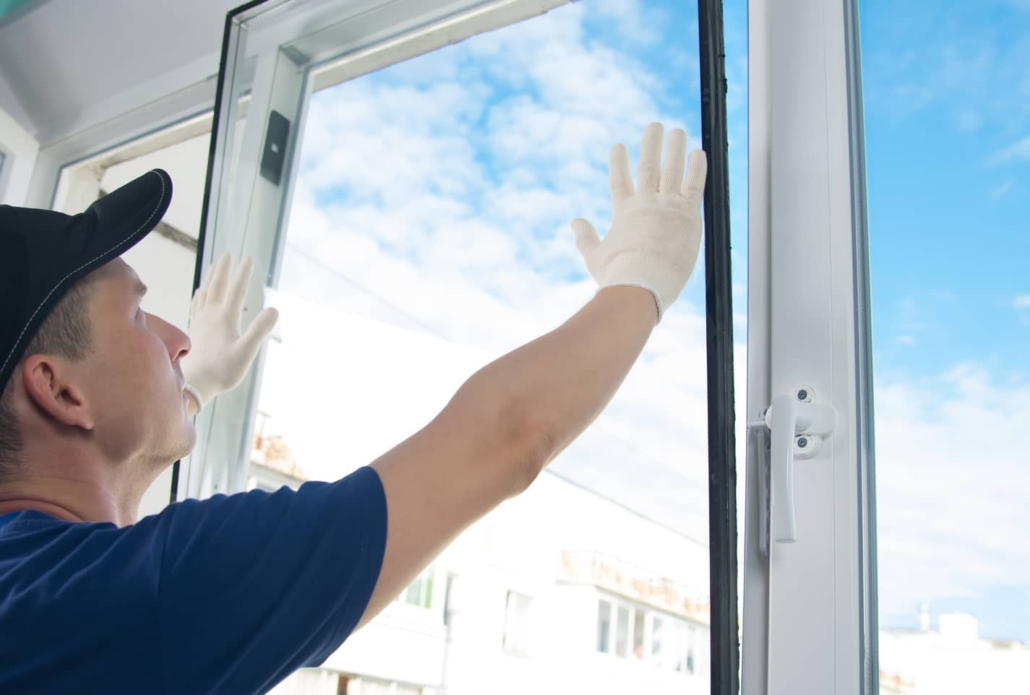
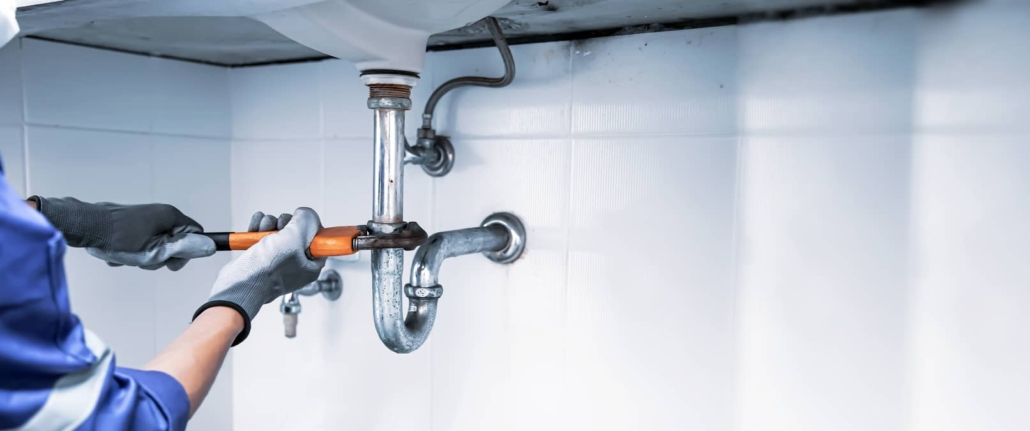
Any signs of leaks, cracks, or damage in your drain or vent pipes necessitate professional repair. DIY patches won’t hold up on important plumbing pipes. The pros can replace damaged sections or gaps in your home’s pipe network.
In cases of sewage backflow, backups, or water flooding up from drain fixtures, immediately shut off the water to the home and call a plumber. These serious hazards require professional-grade drain cleaning equipment and repair skills.
Corroded, severely damaged, or very old vent pipes on your roof should be serviced by a plumber. Safely accessing and replacing roof vents requires experience.
Wrapping Up
Seeing your toilet bubbling while the shower is running can be puzzling and concerning. But in most cases, it simply indicates a minor blockage or issue somewhere within your plumbing system. With some attentive troubleshooting and simple drain maintenance, you can likely resolve a bubbling toilet yourself.
Clearing hair, soap buildup, and other debris from shower drains or vent pipes often fixes the problem quickly. For defective toilet components that cause bubbling, replacement parts are inexpensive and easy to install. And being diligent about preventative steps like pouring water down little-used drains keeps things flowing smoothly.
However, if you have extensive clogs, pipe damage, or backflow, never wait to call a professional plumber for help. To schedule a comprehensive inspection in Jacksonville, FL, and surrounding areas, reach out to Inside and Out Property Inspections today.