How to Stain a Deck & Prevent Errors or Defects
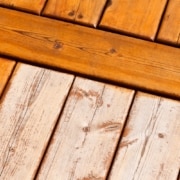
A freshly stained deck can boost curb appeal, protect wood from damage, and make your outdoor space more enjoyable. But if you stain a deck the wrong way—or skip important steps—you could end up sealing in problems instead of fixing them.
As home inspectors, we see it all the time: warped boards, hidden rot, or safety hazards hidden under a beautiful finish. Before you grab a brush, here’s what to know about how to stain a deck without creating bigger issues down the line.
Check the Deck First
Staining your deck without checking it first is like painting over a crack in the wall—it might look better for now, but the problem’s still there.
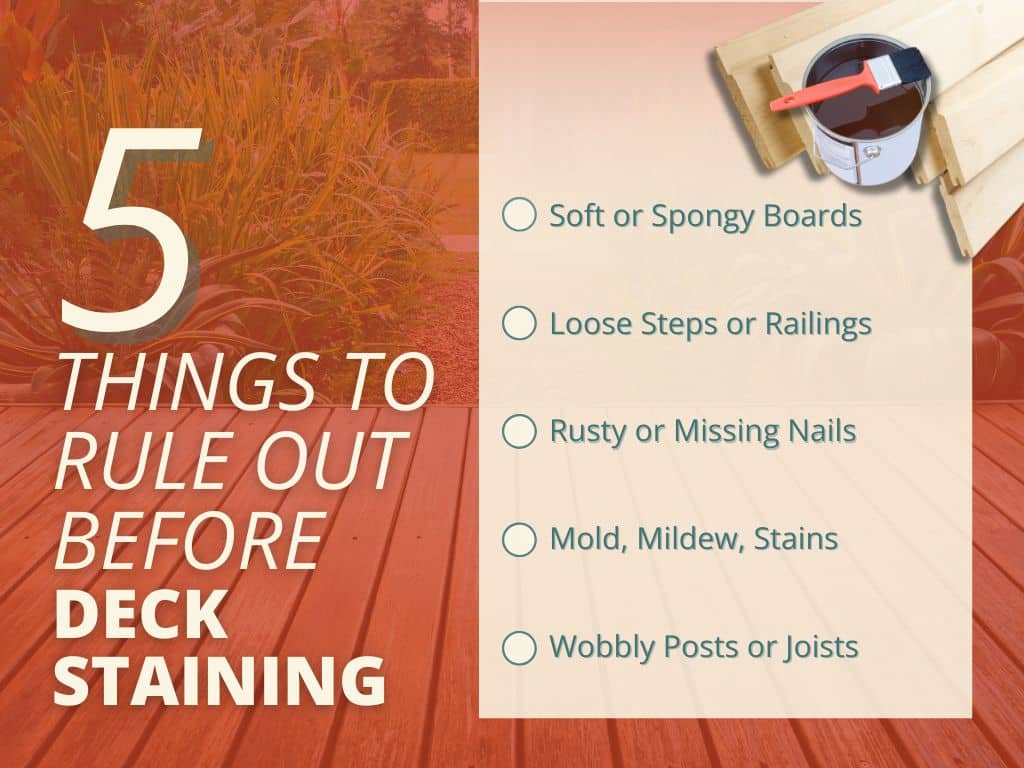
Before staining, walk the deck and check for:
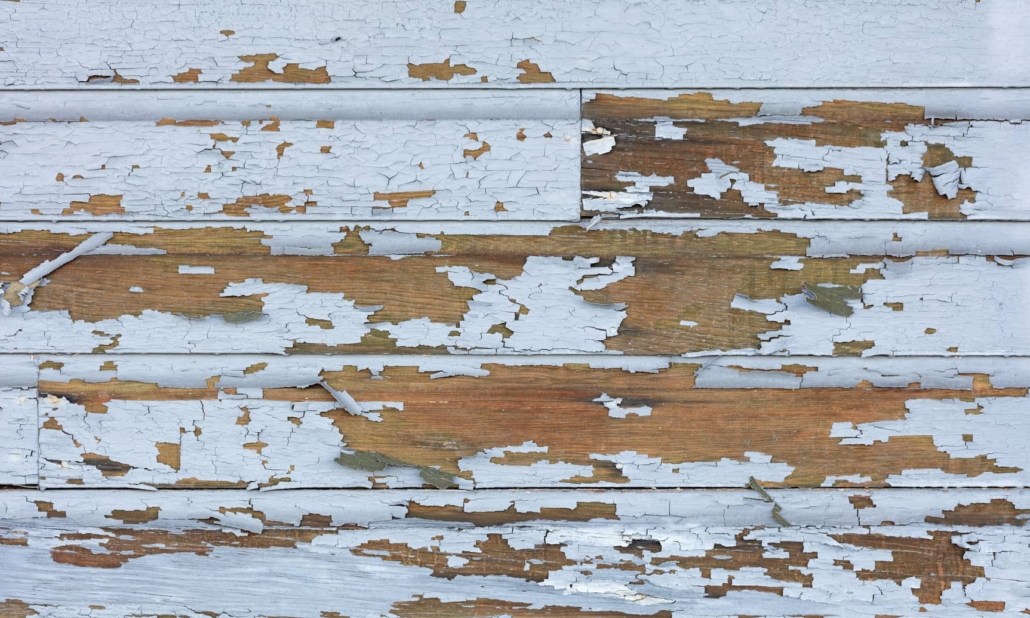
- Soft or spongy boards (could be a sign of rot)
- Loose railings or steps
- Rusty or missing nails and screws
- Discoloration, mold, or mildew
- Wobbly posts or joists underneath
Prepping the Surface
Stain won’t stick to a dirty deck. And if your deck is too wet or too dry, the finish might not last.
Here’s how to prep it right:
- Clear off furniture and debris
- Sweep and scrub to remove dirt, mildew, and old finish (use a deck cleaner, not just soap and water)
- If pressure washing, keep the pressure low to avoid damaging wood
- Let the deck dry for 48 hours minimum before staining—longer if it’s humid
Not sure if it’s dry enough? Try the sprinkle test: if water beads up, wait. If it soaks in, you’re good to go.
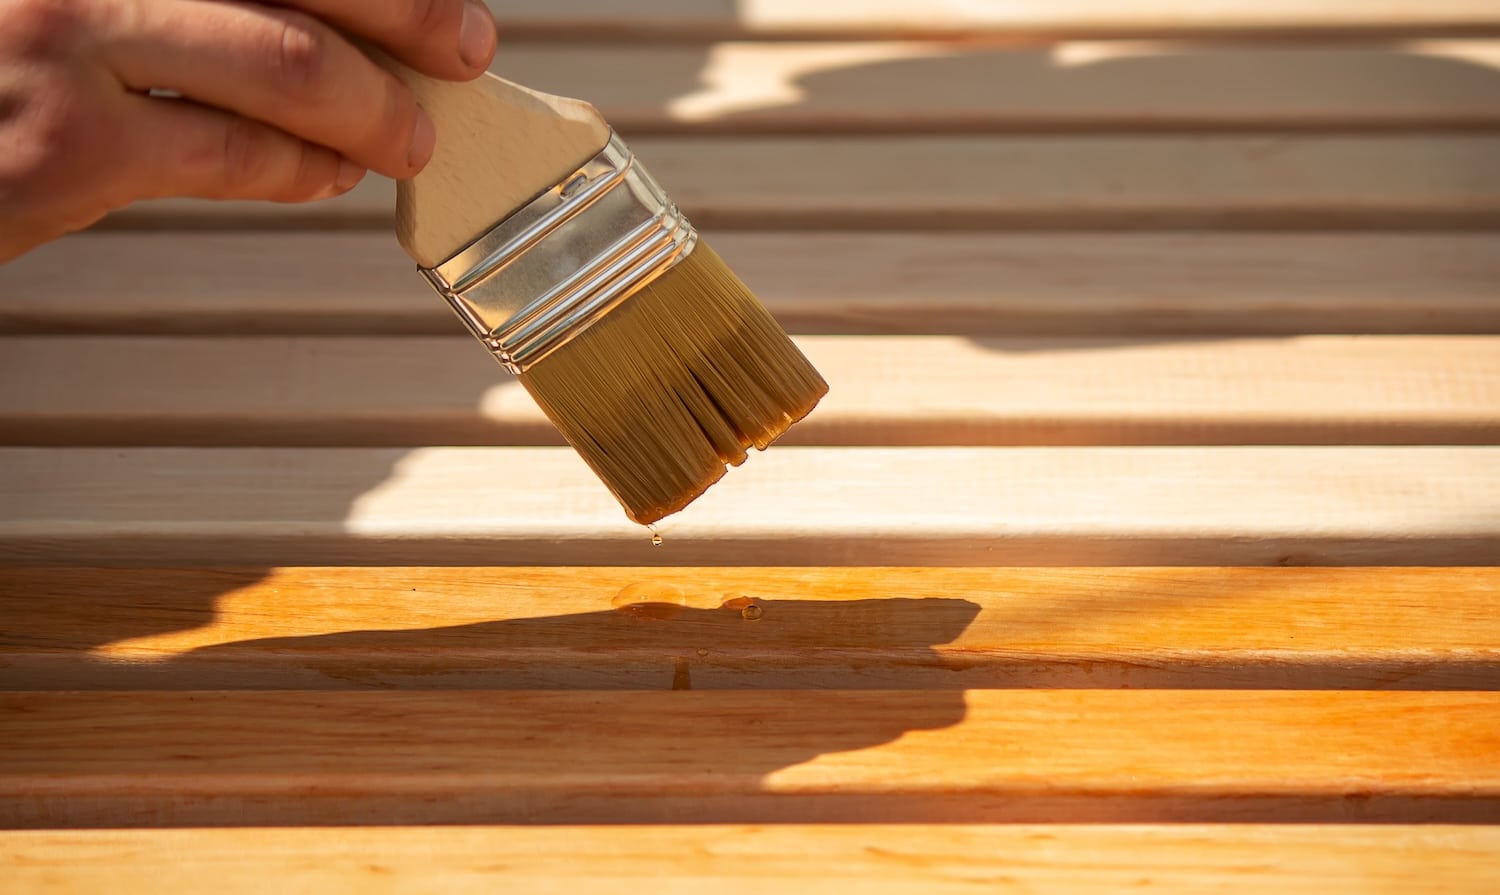
Staining Mistakes That Lead to Bigger Problems
- Applying stain too thick – it should soak into the wood, not sit on top
- Staining in direct sunlight – it dries too fast and may not absorb evenly
- Skipping edges, railings, or undersides – moisture gets in where stain doesn’t
- Using the wrong stain – not all stains work on all wood types (check the label)
- Not mixing the stain well – shaking isn’t enough; stir it to keep the color consistent
What Defects Look Like After a Bad Stain Job
- Bubbling or peeling stain
- Dark spots or streaks
- Faded or uneven color
- Water damage or wood softness
- Slippery surface from mold or mildew
While You’re at It
- Tighten any loose screws or bolts
- Replace cracked or warped boards
- Check for termites or carpenter ants
- Clear out leaves and debris under the deck
- Inspect stairs, railings, and ledgers for stability
When to Call a Professional
- You’re not sure whether your deck is still safe
- You notice signs of rot, sagging, or shifting
- Your stain keeps failing or peeling after just a season
- You’re selling your home and want it to pass inspection
Final Thoughts
Learning how to stain a deck the right way is about more than looks—it’s about protecting your home and making sure your outdoor space is safe and long-lasting. Always inspect first, prep well, and avoid shortcuts.
Need a second set of eyes before you stain? At Inside & Out, we offer deck inspections that help homeowners spot problems early—before they turn costly or dangerous. Whether you’re maintaining your current deck or getting ready to sell, we’re here to help.