
The Very Real Risks of a Dirty Laundry Dryer Lint Trap
Cleaning your laundry dryer lint trap is such an easy chore to forget. But skipping it can create bigger risks than most homeowners realize. Over time, a dirty lint trap in your laundry dryer can reduce efficiency, damage components, and even lead to dangerous fire hazards.
In this guide, we will explore why it is so important to keep your dryer’s lint trap clean and the hidden risks you may not think about.
How a Dryer Lint Trap Works
The lint trap, or lint screen, is designed to catch fibers and debris from clothing during the drying cycle. As clothes tumble, lint is released into the airflow. The lint screen captures this material to prevent it from reaching the vent system.
But even the best lint traps do not catch everything. Fine particles can still pass through and begin building up in the dryer vent ductwork over time, which is where bigger risks can develop.
Hidden Risks of a Dirty Lint Trap
1. Fire Hazard
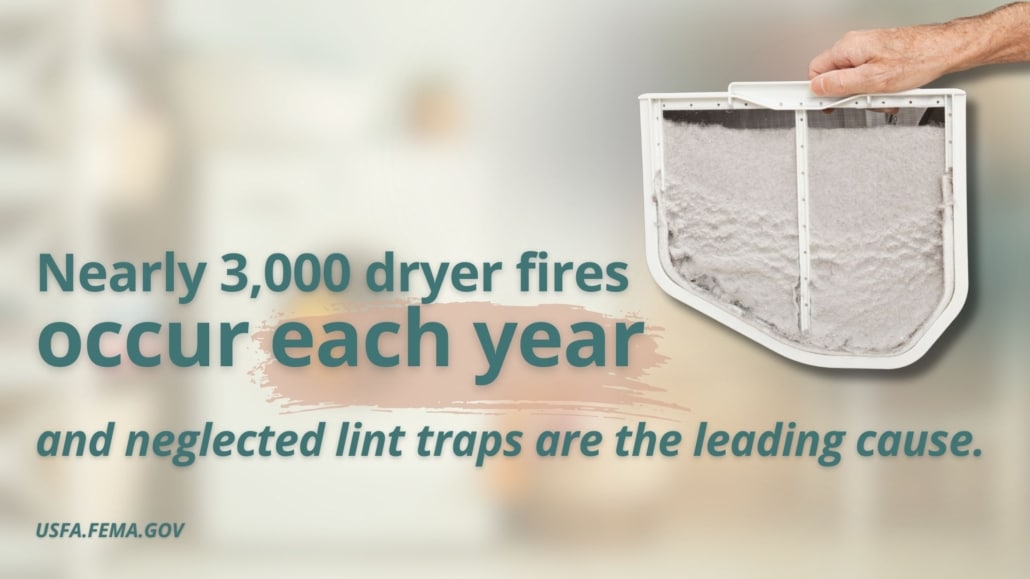
The number one risk of a dirty lint trap is fire. According to the U.S. Fire Administration, nearly 3,000 dryer fires occur each year, and failure to clean the dryer is the leading cause.
Lint is highly flammable. If airflow is restricted due to a clogged lint trap or vent, heat builds up in the dryer. All it takes is a spark or excessive heat to ignite the lint. A clogged vent can also trap hot air, increasing the risk even further.
2. Poor Dryer Performance
A clogged lint trap reduces airflow, forcing the dryer to work harder. You may notice:
- Longer drying times
- Damp clothes after a full cycle
- Excessive heat buildup
- The dryer shutting off mid-cycle due to overheating
Not only is this frustrating, but it wastes energy and drives up your utility bills.
3. Damage to the Dryer
Overheating from a blocked lint trap can cause premature wear on components like heating elements, thermostats, and motors. Over time, this can lead to expensive repairs or the need to replace the dryer entirely.
4. Moisture and Mold
When a dryer cannot vent properly, moisture builds up inside the dryer and in vent ducts. This can create an ideal environment for mold and mildew in the dryer and surrounding walls or laundry spaces.
5. Reduced Indoor Air Quality
Lint, dust, and moisture that escape from clogged vents can circulate back into the home, lowering indoor air quality. This is especially concerning for homes with allergy sufferers or respiratory conditions.
You should clean your dryer lint trap after every load of laundry! Simply remove the screen and wipe away lint. Also, plan a monthly deep clean to wash the lint screen with soap and water to remove buildup.
Skipping these simple steps allows lint to accumulate more quickly and reduces the trap’s effectiveness.
Finally, the dryer vent will need certain maintenance over the course of the unit’s lifetime, as well.
- Have the dryer vent professionally cleaned once a year
- Check vent hoods outside to make sure airflow is strong and not blocked
- If you notice longer drying times, it may signal a partially clogged vent that needs attention
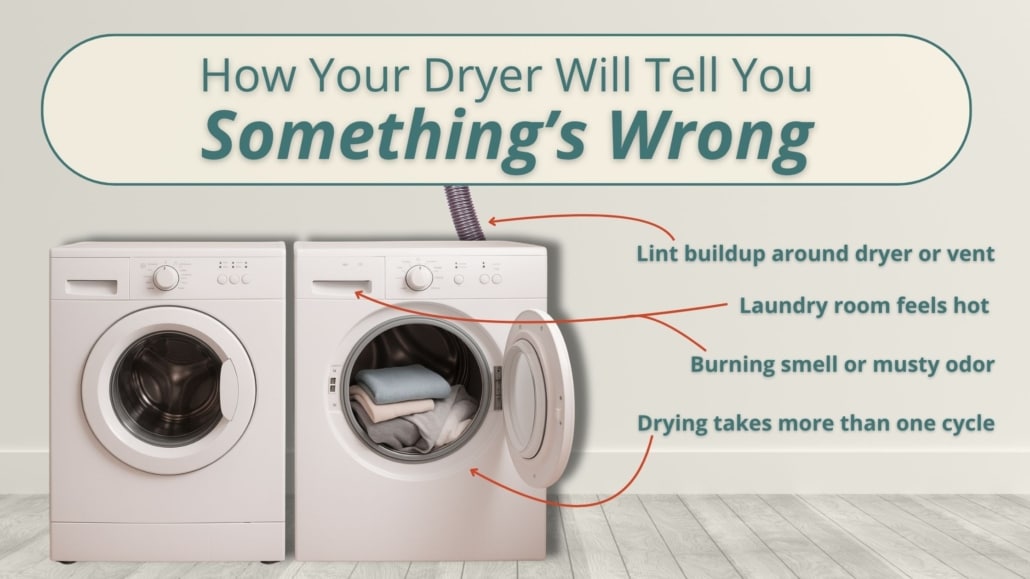
Signs of a Potential Problem
- Clothes take more than one cycle to dry
- The dryer or laundry room feels hot after running
- A burning smell or musty odor during operation
- Lint buildup around the dryer or vent outlet
If you notice any of these signs, it is time to have the system inspected.
When to Call a Professional
You should contact a home inspector or qualified technician if:
- You are buying a home and want to ensure the dryer and vent system are safe
- The current dryer is performing poorly
- You have not had the dryer vent cleaned in over a year
- You see visible lint buildup behind the dryer or around the vent
An inspection can identify hidden issues and help you correct them before they become costly or dangerous.
Conclusion
A dirty laundry dryer lint trap may seem like a small problem, but it carries real risks. From fire hazards to mold, poor air quality, and costly repairs, the consequences of neglecting this simple task can add up fast.
The good news is that with regular cleaning and professional inspections, you can keep your dryer running safely and efficiently. If you are buying or maintaining a home and want to be sure your systems are in top condition, book online with Inside & Out Property Inspectors today. Our inspections cover the small details, like lint traps and vent systems, that protect your home and family.