
What is Tepid Water?
When it comes to water temperature in your home, the Goldilocks principle often applies: not too hot, not too cold, but just right. Enter the world of tepid water—a term that might not make daily conversation but is certainly a daily comfort. So, what is tepid water?
In the following sections, we’ll dig into the use cases for tepid water, how it’s different from other temperature ranges, and what exactly makes water tepid. From nuanced differences and purposes to essential maintenance tips for your home’s water system, we’re sure to pique your curiosity and provide practical insights.
How Does Tepid Compare to Room Temperature?
When we talk about tepid water, it’s often confused with room-temperature water. However, there’s a subtle, significant difference that’s worth understanding. Room temperature water is typically described as water that sits at the ambient temperature of the surrounding environment—usually between 68°F to 72°F (20°C to 22°C). It’s the water you’d expect to sip from a glass that’s been sitting on your counter.
On the other hand, tepid water is slightly warmer. It’s a term more commonly used in contexts where water interacts with the body or in various processes where a specific temperature range is optimal. Hovering between 85°F and 105°F (29°C to 40°C), it’s intentionally warmer than the ambient room temperature but not to the extent that it would be uncomfortable or dangerous to the touch.
Why Does it Matter?
The temperature of the water we use can have different effects on tasks. For instance, tepid water is often recommended for first aid treatments because it’s warm enough to relax muscles and soothe discomfort without causing additional harm to an injury. In cooking or baking, certain recipes may call for tepid water to activate yeast without killing it, which is critical for the success of your bread or pastries.
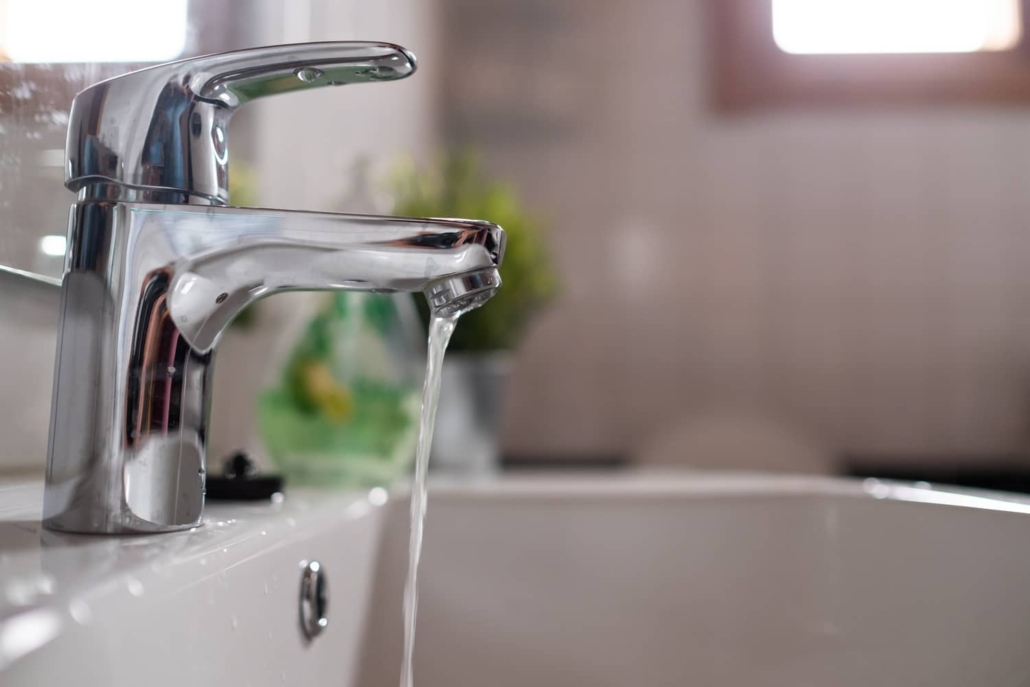
When you’re looking to mix tap water to achieve that tepid sweet spot, you’ll generally be combining more hot water than cold. Most modern water systems can easily provide water at this temperature, but it’s essential to be mindful of your specific settings, as perceptions of warmth can vary from person to person.

Every Day Uses for Tepid Water
More than a middle ground between hot and cold, tepid water is a versatile player in daily life, serving purposes that go beyond mere temperature preference. Due to its gentle warmth, tepid water is often the go-to choice for a variety of common tasks. Understanding its uses can help you make the most of this often-overlooked resource.
Personal Care and Comfort
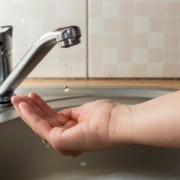
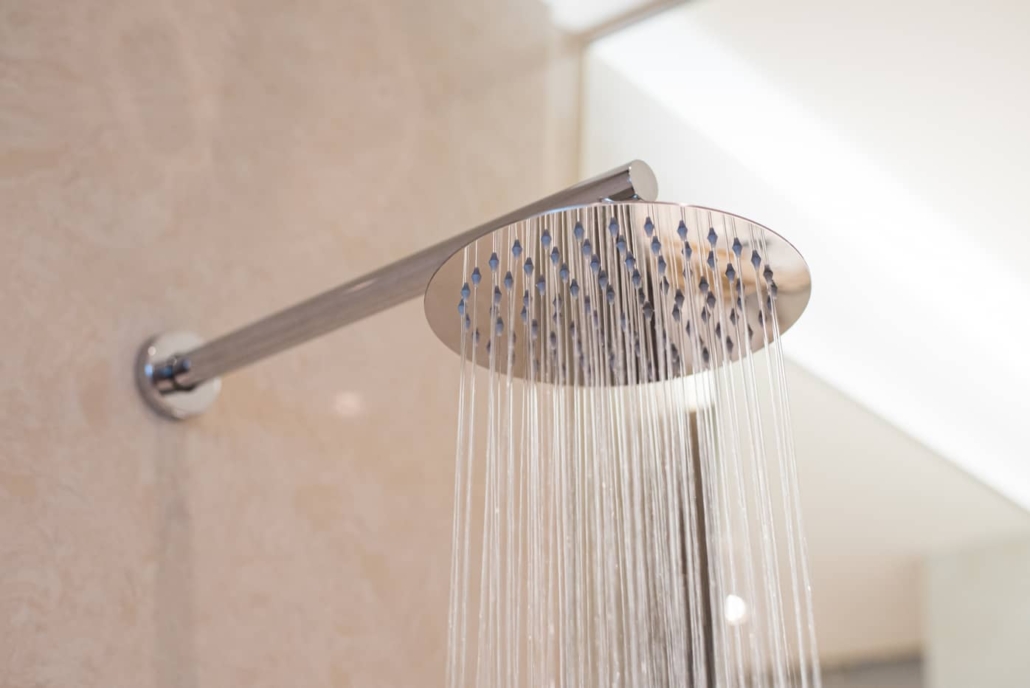
Starting with personal hygiene, tepid water is ideal for washing hands and bathing. It’s warm enough to remove oils, dirt, and bacteria effectively while being gentle on the skin. Consequently, this reduces the risk of drying out or irritating sensitive skin types. For those with conditions like eczema or rosacea, tepid water can help avoid flare-ups that hotter temperatures might provoke.
First Aid and Health
In first aid, tepid water is best for cleaning wounds. It’s also the recommended temperature for compresses to reduce swelling or to soothe headaches. The lukewarm nature is gentle on inflammation, providing relief without the shock that cold water might introduce.
Culinary Applications
Next, the kitchen! Tepid water plays a critical role in culinary arts, particularly in baking. It’s the perfect temperature to proof yeast, ensuring that it remains active for bread making. Tepid water also helps in emulsifying ingredients when cooking! This is because it combines more readily with fats and oils, leading to smoother sauces and dressings.
Plant Care
Water in this temperature range is also a friend to your houseplants. Watering with tepid water is less of a shock to their systems, especially for tropical plants. Cold water can shock the roots and slow growth, but tepid water assimilates more naturally to the plant’s needs.
Cleaning and Maintenance
When it comes to cleaning, tepid water is a powerhouse. It dissolves cleaning products more effectively than cold water, allowing for better interaction with dirt and grease. Whether you’re mopping your floors or wiping down countertops, tepid water enhances the cleaning process without the potential damage or energy consumption of hot water.
Comfort for Pets
Lastly, our pets can also benefit. Whether it’s for bathing or providing drinking water, a moderate temperature can make these activities more pleasant and less stressful for our furry companions.

Other Recommended Maintenance
To ensure consistent access to tepid water, regular checks and maintenance of your water heating system are essential. A good starting point is to familiarize yourself with your water heater’s thermostat. Most models allow you to adjust the temperature setting easily. While the default setting is often around 120°F, which is above the tepid range, dialing it down slightly can help save energy and reduce the risk of scalding, all while providing quick access to tepid water when needed.
It’s also worth investing in annual maintenance by a professional plumber annually. They can assess the condition of your water heater, check for sediment buildup, and ensure the system operates efficiently. Sediment in the tank can impact water temperature control and reduce the efficiency of your system, leading to higher utility bills and a shorter lifespan for the appliance.
Furthermore, installing mixing valves can be a wise move. These valves automatically adjust the mix of hot and cold water to deliver water at a safe, consistent temperature. This can be particularly beneficial for households with children or the elderly.
In areas with hard water, consider a water softener. This helps prevent mineral buildup in your pipes and on your heating elements, which can affect water temperature consistency. Conversely, a de-scaling treatment might be necessary if the buildup is already an issue.
When to Call a Professional
When tepid water is no longer a reliable comfort in your home, it’s a clear sign to call in a professional. If adjusting your water heater’s thermostat doesn’t yield the expected warm, yet comfortable touch of tepid water, a plumber’s expertise is necessary. This could point to an issue with the heater’s elements, thermostat failure, or a more complex problem within your system.
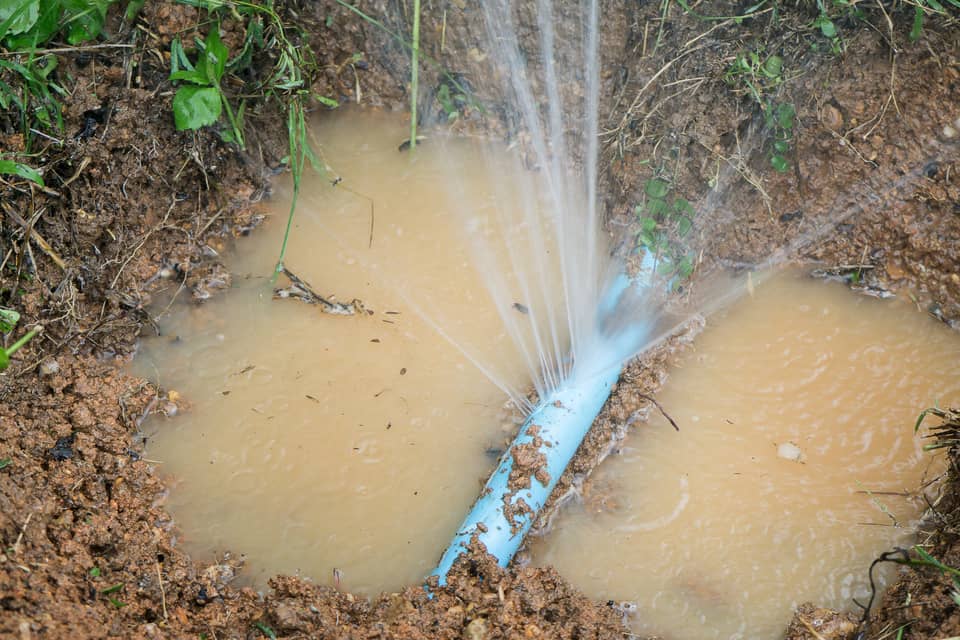
Leaks around your water heater or plumbing fixtures require immediate professional attention. Even minor leaks can quickly escalate, leading to water damage and the potential for mold growth. Professionals can repair the leak and investigate to remedy the root cause, preventing recurrence.
While DIY can be tempting, the installation of mixing valves and water softeners is best left to the experts. Professional plumbers will ensure that your system is correctly sized, properly installed, and in compliance with local regulations.
The lifespan of a water heater is limited, and if yours is approaching its expected life, a professional can help. From the most efficient replacement options to the installation process, an expert is always helpful.
Conclusion
In conclusion, tepid water is a moderate and comfortable temperature range between hot and cold. It finds its use in various aspects of our daily lives, such as personal hygiene, first aid, baby care, and pet care. Understanding the uses and benefits of tepid water ensures a safer and more enjoyable experience for homeowners.
However, if you encounter any issues with your water temperature or quality, it is crucial to seek professional help to address the underlying problems effectively. While you are taking a look at your water, it is a great time to reach out to Inside and Out Property Inspectors in Jacksonville, FL, and surrounding areas and get an expert home inspection done today.