
How Long Do Inspections Take? By Scope and Specialty
If you own a home or you’re getting ready to buy, sell, or renovate, you might wonder how long inspections take. The short answer is…it depends. The time it takes can vary based on the size and age of the property, the number of services you’ve scheduled, and the type of inspection being performed.
Some are straightforward, like a wind mitigation or 4-point check. Others, like a full home or commercial inspection, take longer because of how detailed they get. Here’s what to expect, depending on the scope and specialty.
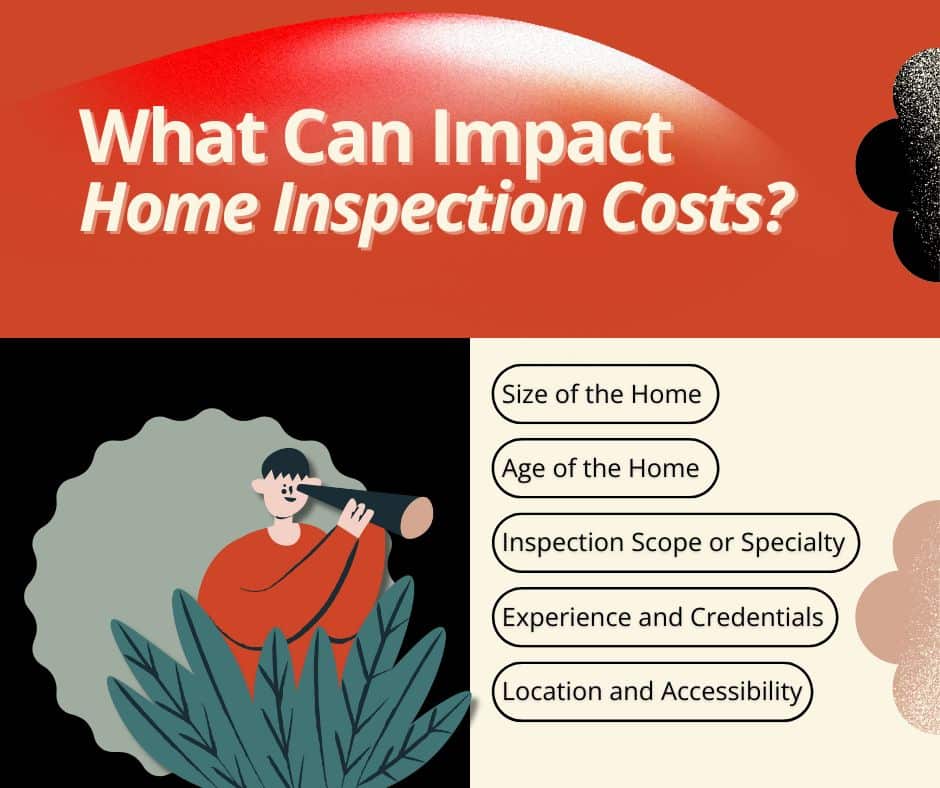
What Affects the Duration?
- Size of the property – A small condo is much quicker to inspect than a large multi-story home.
- Age and condition – Older homes often have more areas that need closer attention.
- Services scheduled – Booking multiple inspections in one visit adds time.
- Inspection type – Some require more in-depth evaluation and documentation.
- Accessibility – If the attic, crawlspace, or panel boxes aren’t accessible, the process slows down.
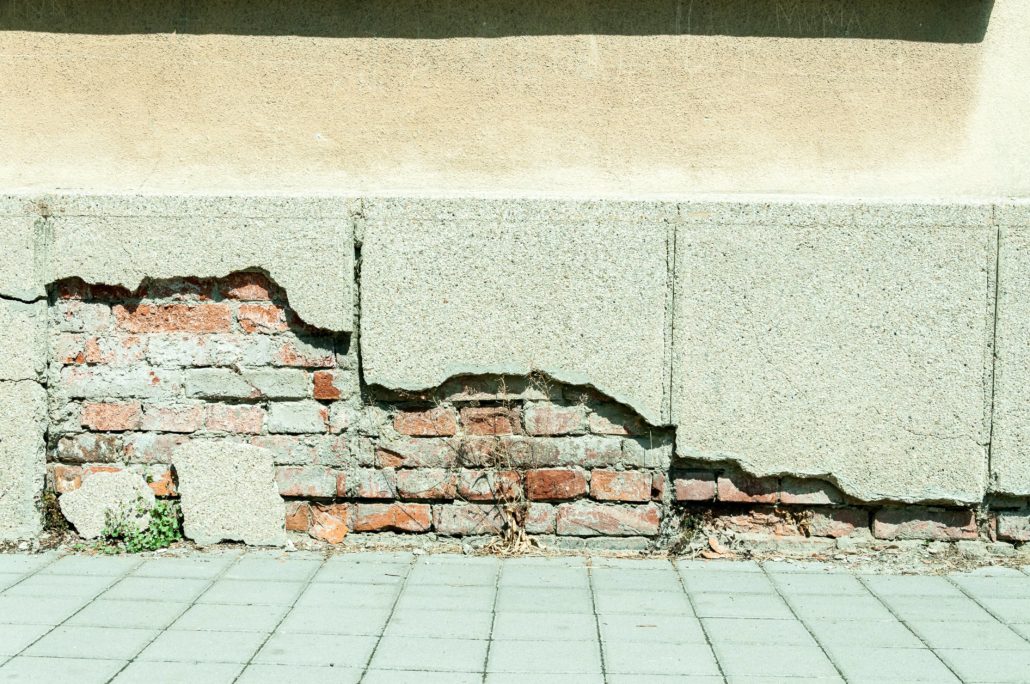
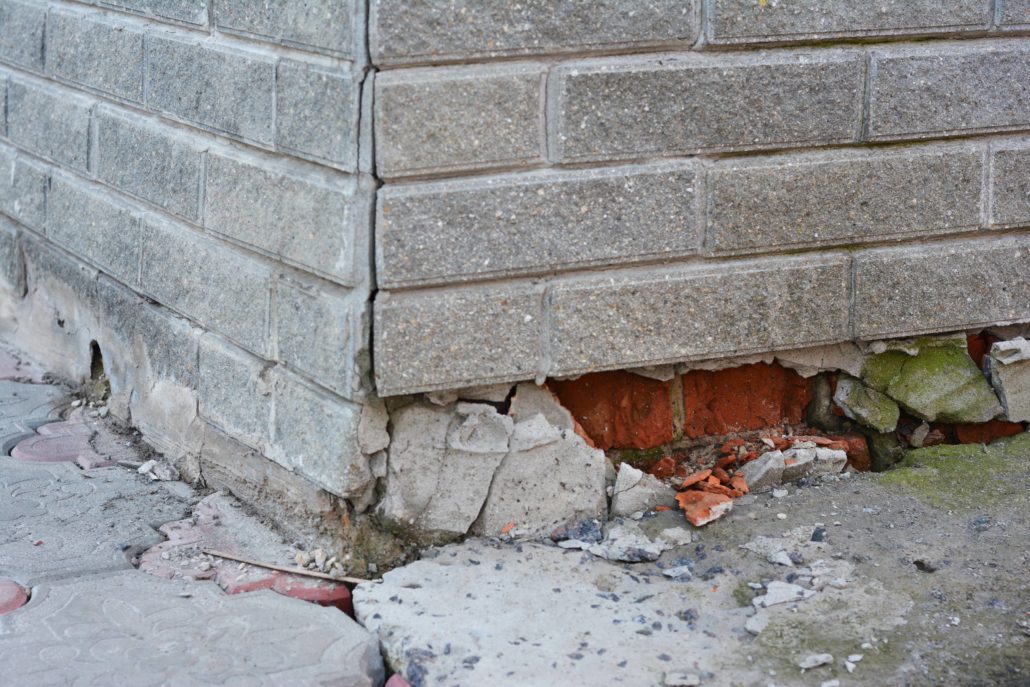
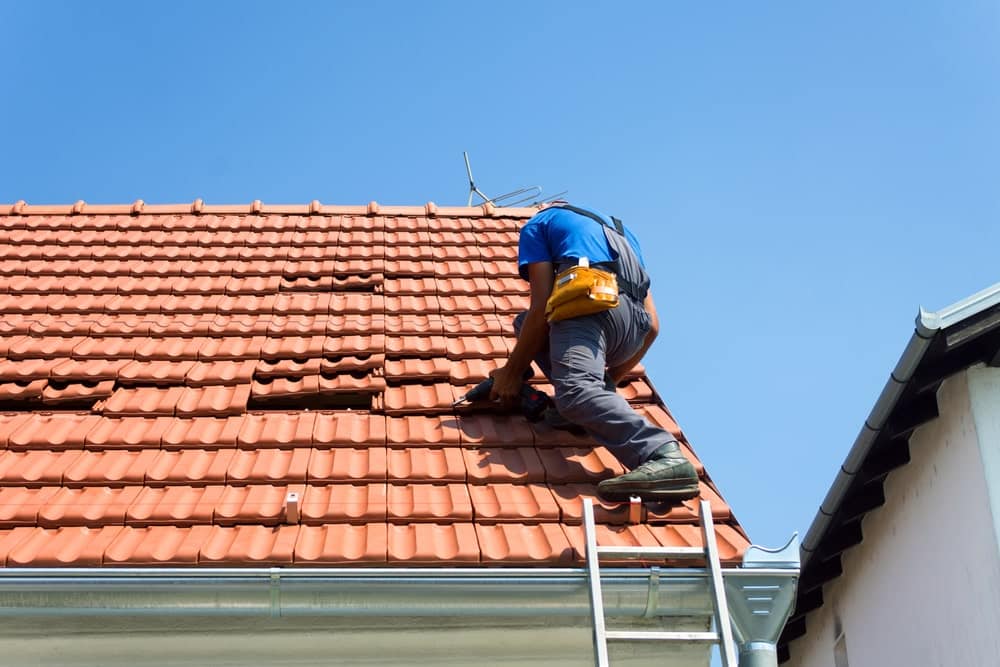
How Long a Full Home Inspection Takes
A standard home inspection usually takes 2.5 to 4 hours, depending on square footage and how many systems need to be checked.
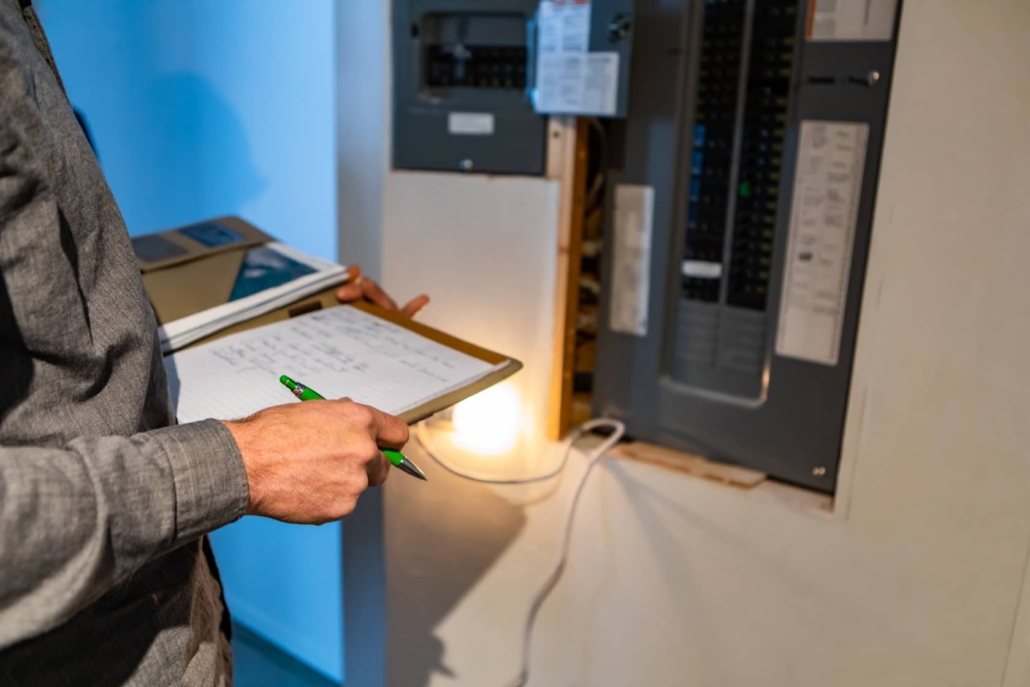
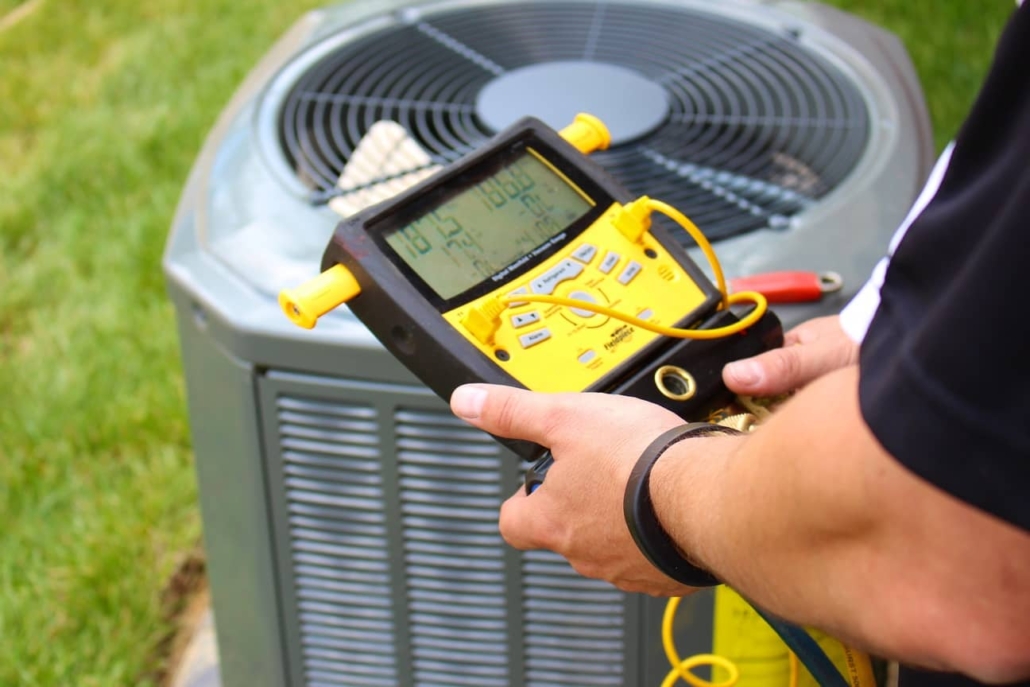
This includes a full visual evaluation of the home’s roof, structure, electrical, plumbing, HVAC, attic, insulation, and appliances. If the home is larger or has extras like a detached garage or multiple HVAC systems, expect the inspection to take longer.

Other Service Estimates and Averages
Inside & Out offers several specialty inspection services alongside their core home inspections.
These may be scheduled on their own or bundled for efficiency. Here’s what to expect in terms of time:
- 4-Point Inspection – About 1 hour; Focuses only on the four main systems: roof, electrical, plumbing, and HVAC. Often required for insurance.
- Wind Mitigation Inspection – 30 to 45 minutes; Documents specific roof and structural features that help protect against wind damage (and may help reduce insurance costs).
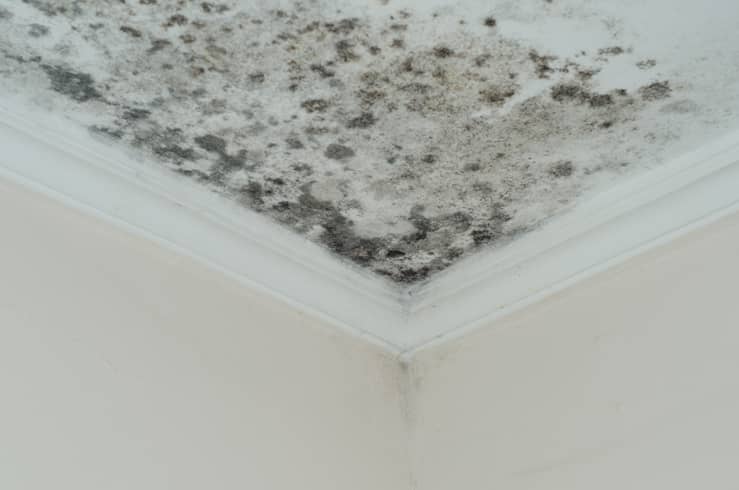
- Mold Inspection – 1.5 to 2.5 hours; Involves a visual check, moisture readings, and possibly samples collected for lab testing if conditions warrant it.
- Sewer Scope Inspection – 1 to 1.5 hours; Uses a camera to inspect the main sewer line for blockages, root intrusion, cracks, or other hidden issues.
- Warranty Inspection (11-Month) – 2.5 to 4 hours; Similar in scope to a full home inspection, this service catches builder-related issues before your new home warranty expires.
- Pre-Drywall Inspection – 1.5 to 3 hours; Performed during construction to check framing, electrical, plumbing, HVAC, and structural components before walls are sealed.
- Pre-Slab Inspection – 1 to 2 hours; Completed before a slab foundation is poured to verify proper grading, plumbing placement, and other site prep.
- New Construction Inspection – 2.5 to 4 hours; A detailed top-to-bottom inspection of a newly built home to ensure everything was completed correctly before final walkthrough or closing.
- Deck Inspection – 30 minutes to 1 hour; Evaluates safety, structure, and attachment points of exterior decks, stairs, and railings.
- Commercial Inspection – Varies by building; Depending on size and scope, this can range from a few hours to a full day. Office buildings, rental properties, and mixed-use spaces often require detailed system checks.
Combining Services
If you’re scheduling multiple inspections in one visit (for example, a new construction inspection + sewer scope + mold testing), you’ll need to allow extra time.
In general, each added specialty service adds 30 minutes to 2 hours, depending on the type.
Still, bundling services is often faster—and more cost-effective—than booking them separately, especially during real estate transactions or time-sensitive construction phases.
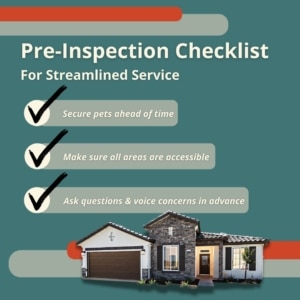
How You Can Help Streamline Inspections
An inspector’s job is to work thoroughly, but a few simple steps on your part can help. A little preparation can make a big difference in how long the appointment takes, including getting your report.
Here’s what you can do to keep things moving:
- Make sure all areas are unlocked and accessible
- Remove any clutter blocking attic entries, crawlspaces, or panels
- Secure pets ahead of time
- Let the inspector know about any concerns or known issues in advance
Other Recommended Maintenance
Not everything has to wait for an inspection. Some routine maintenance can make your home safer, extend the life of major systems, and even make future inspections go more smoothly.
Here are a few simple things homeowners can do:
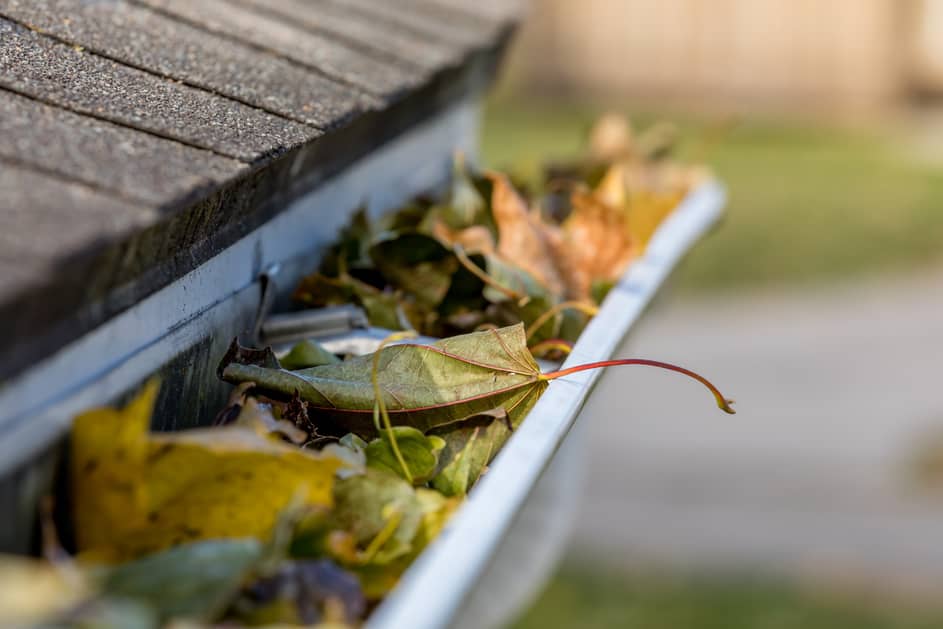
- Clean gutters regularly to prevent water damage and roof issues
- Change HVAC filters every 1 to 3 months to improve efficiency and air quality
- Test GFCI outlets and smoke detectors to ensure safety systems are functioning
- Trim trees and shrubs away from the home to reduce pest access and moisture buildup
- Check visible plumbing lines under sinks or around water heaters for early signs of leaks
- Walk your exterior once a season to spot signs of wood rot, foundation shifts, or siding damages
When to Call a Professional
If you’re unsure which inspections you need (or how long they’ll take for your specific property), it’s best to speak with a licensed inspector.
A trusted local expert will be happy to guide homeowners, buyers, and builders through the process so you know what to expect before you even book a service.
If you’re buying a home, building one, managing a commercial property, or maintaining your current one—there’s a good chance an inspection can give you peace of mind.
You should call us when:
- You’re under contract and need a home inspection or insurance-required report
- Your new construction is nearing key stages like pre-drywall or final walkthrough
- Your 11-month builder warranty is almost up
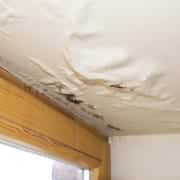
- You’ve noticed signs of moisture, mold, or sewer problems
- You manage or own a rental or commercial space that needs evaluation
- You’re prepping to pour a slab and want to confirm everything’s ready
- You want to bundle services (like mold + sewer + home inspection) and save time
Conclusion
How long do inspections take? In essence, that depends on your home, your goals, and the services you schedule. A standard home inspection might take a few hours, while specialty services can range from 30 minutes to several hours more.
When you choose Inside & Out Property Inspectors, you get a clear, detailed look at the condition of your property, backed by experienced pros who take the time to get it right.
Need to schedule an inspection or ask a few questions? Reach out to our team today. We’re here to help you make confident decisions.