
Tools You Need for the Easiest Gutter Cleaning Experience
Cleaning the gutters, while important to your home’s health, often feels daunting or even overwhelming. However, with the right tools, gutter cleaning can transform into a manageable, even satisfying job.
By the end of this post, we hope to send you off with the essential knowledge and tools to turn this tedious task into an efficient, safe experience. Let’s get our heads in the gutter!
Why Clean Your Gutters?
At first glance, gutter cleaning might seem like just another item on an endless to-do list, with or without tools. However, the reality is that gutters play a fundamental role. Neglected gutters can become a breeding ground for pests, lead to water damage, and even diminish your home’s overall value. Let’s break down these risks and the benefits of keeping your gutters clean.
Preventing Pests and Water Damage
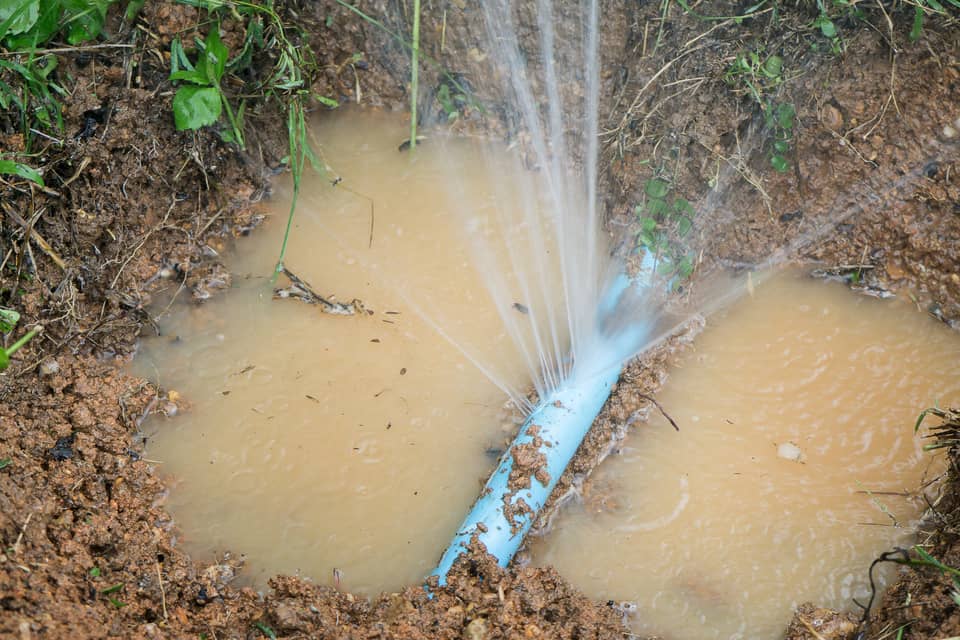
Clean gutters guide rainwater away from your home’s foundation, walls, and landscaping, preventing water damage and potential flooding. Clogged gutters, on the other hand, can overflow easily. This can cause water to seep into your home and create issues like mold, mildew, and structural damage.
Additionally, gutters clogged with leaves and debris provide the perfect nesting spot for pests such as mosquitoes, rodents, and birds. Regular cleaning removes these potential habitats, helping to keep pest infestations at bay.
Preserving Home Value
Lastly, your home’s exterior appearance is crucial for its curb appeal. Overflowing gutters can lead to staining on your siding and walkways, not to mention the potential for landscape erosion. Clean gutters ensure your home looks well-maintained, preserving or even increasing its value.

Know Your Gutter Needs
Every house is unique, and so are its gutters. The type of gutters you have, their design, and even the environment your home is in can significantly influence your cleaning strategy.
Gutter Variations
Gutters come in various materials and designs. Whether you have seamless aluminum gutters, vinyl, or even copper, each material has its considerations for maintenance. Similarly, whether traditional K-style or half-round, the design impacts how debris collects and how you should approach cleaning.
Environmental Factors
The surroundings of your home play a crucial role in determining your gutter cleaning needs. Homes under numerous trees might face more frequent clogging from leaves and twigs, requiring more regular cleaning.
On the other hand, areas with minimal tree coverage might not need as frequent gutter maintenance but should still adhere to routine checks.
Home Height and Accessibility
The height of your home affects the difficulty and safety of gutter cleaning. Higher homes may necessitate special equipment like longer ladders or telescopic tools to safely reach the gutters without risking injury.
Preventive Measures
Installing gutter guards can minimize the amount of debris that collects, though they’re not a substitute for cleaning. Also, knowing when to perform maintenance—typically in the fall and spring—can prevent severe issues before they start.
Tools to Simplify the Job
Gearing up with the right gutter cleaning tools is the secret to transforming this chore from a dreaded task into a smooth, efficient operation. Each tool makes the job easier and ensures your safety and the integrity of your gutters. Let’s zero in on the must-have tools that promise to make gutter cleaning as effortless as possible.
Telescopic Wand
Firstly, you can elevate your gutter cleaning game without ever leaving the ground. The telescopic wand extends your reach, allowing you to clear out debris with precision from a safe distance. Its adjustable length caters to different gutter heights, and the powerful water jet dislodges leaves and muck in no time.
Gutter Cleaning Scoop
The right scoop makes all the difference. Specifically designed to fit the contours of your gutters, this tool effortlessly scoops out build-up. It helps ensure you get every last bit of debris without damaging the gutter’s surface. It’s efficient, precise, and gentle on your gutters.
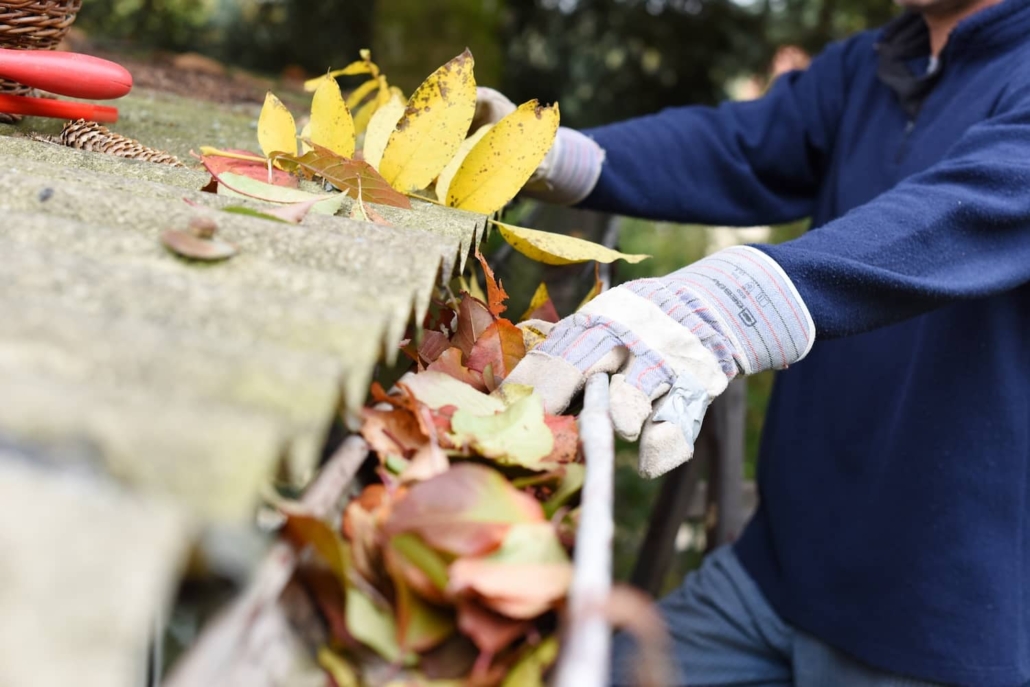
Heavy-Duty Gloves
Never underestimate the importance of a good pair of gloves. These shield your hands from sharp edges, dirt, and unexpected pests. Durable, waterproof, and puncture-resistant, they’re an essential safeguard during your cleaning mission.
Bucket with Hooks
A bucket might seem simple, but one equipped with hooks is a game-changer. Hang it directly from your ladder or the gutter itself to keep debris contained and minimize clean-up time. It’s all about keeping the process tidy and efficient.
Ladder Stabilizer
Safety is paramount, and a ladder stabilizer ensures just that. Widening your ladder’s footprint offers unmatched stability, reducing the risk of slips or falls. Use it to secure your ladder firmly, granting you peace of mind as you work.
Steps to a Clean Gutter
1) Safety First – Before you start, get your safety gear ready. Wear heavy-duty gloves to protect your hands and consider safety goggles to guard against flying debris. If you’re using a ladder, make sure it’s secure, and consider using a ladder stabilizer for added stability.
2) Inspect Your Gutters –Then, take a moment to inspect your gutters. Look for areas of heavy debris accumulation, potential gutter damage, or blockages in downspouts. This initial inspection can help you target your cleaning efforts more effectively.
3) Position Your Bucket – Next, hook your bucket onto your ladder or the gutter itself. This will be where you deposit the debris, keeping your work area clean and minimizing trips up and down the ladder.
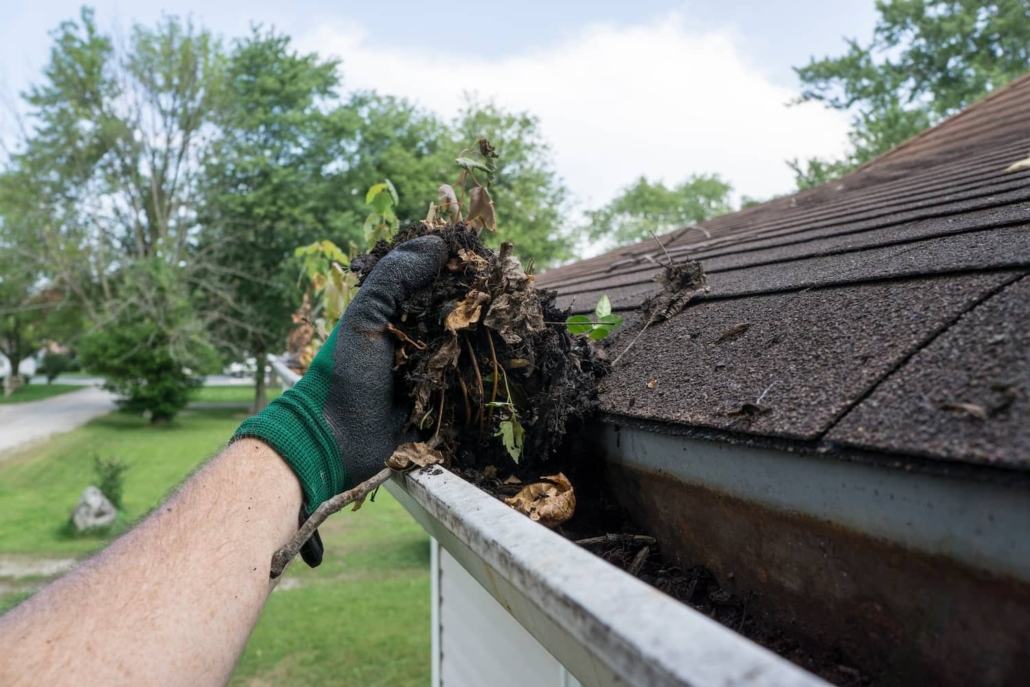
4) Start With the Scoop – Using your gutter cleaning scoop, begin removing debris from the gutter. Start at one end and work your way to the other, scooping out leaves, twigs, and sludge. Deposit the debris into your bucket as you go.
5) Utilize the Telescopic Wand – Once the bulk of the debris is removed, use the telescopic wand. The high-pressure water stream is excellent for dislodging stubborn dirt and ensuring the gutters are thoroughly cleaned.
6) Flush the Gutters – After that, it’s time to flush the gutters with water. This not only ensures that the gutters are completely clean but also allows you to check for proper water flow and identify any leaks.
7) Check Downspouts – Ensure that downspouts are not clogged. If water isn’t flowing freely, you may need to use your telescopic wand or a plumber’s snake to clear blockages, ensuring water can drain away from your home effectively.
Final Look
Conduct a final inspection of your gutters and downspouts. Look for any missed debris, check for signs of damage, and ensure that water is flowing correctly through the system.
Other Recommended Maintenance
When it comes to gutter maintenance, consider these additional tasks. These efforts complement gutter upkeep and regular inspections for a well-rounded approach to home care.
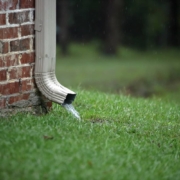
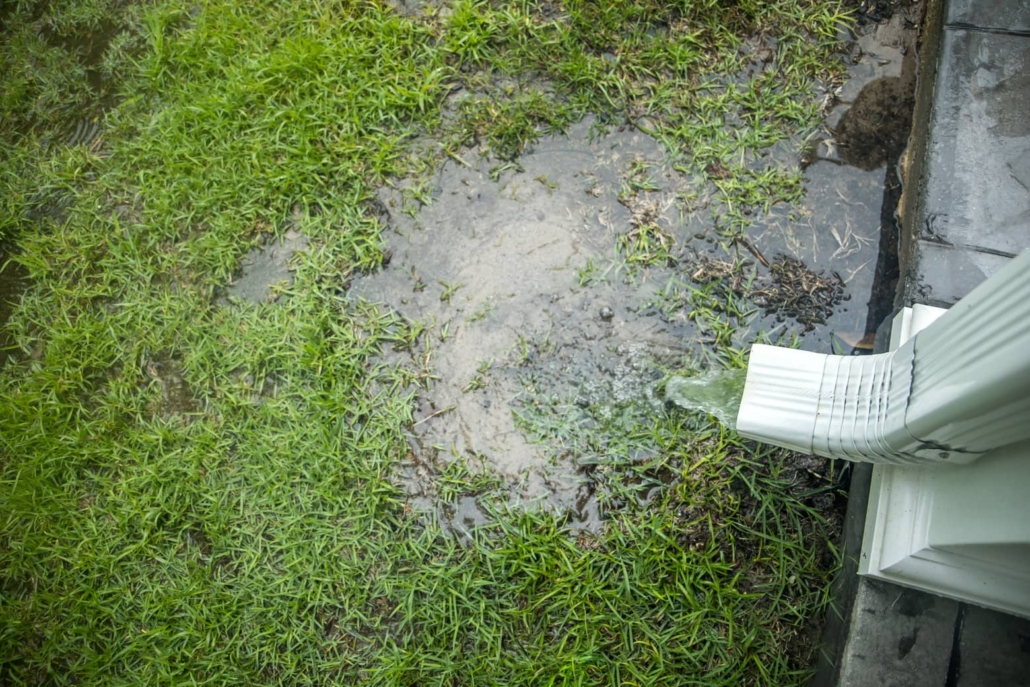
- Downspout Flushing – Even with clean gutters, clogged downspouts can cause water to back up and potentially damage your home. Make downspout flushing a part of your routine gutter maintenance to ensure water can flow freely away from your home’s foundation.
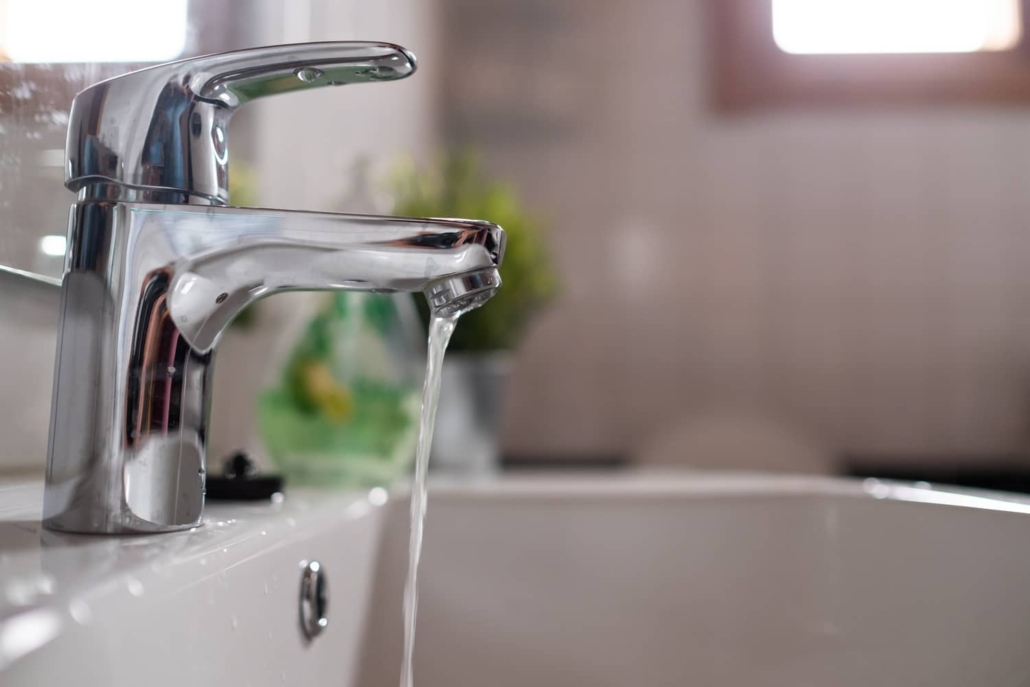
- Seal Inspections – Check the seals around windows, doors, and any vents or external pipes. Compromised seals can allow water to enter your home, leading to mold, mildew, and other moisture-related problems. Regular sealing helps maintain your home’s energy efficiency and prevents water damage.
- Trimming Trees and Shrubs – Keep trees and shrubs trimmed and away from your home’s exterior. Overhanging branches can damage your roof and gutters, and dense foliage can contribute to dampness and pest infestations.
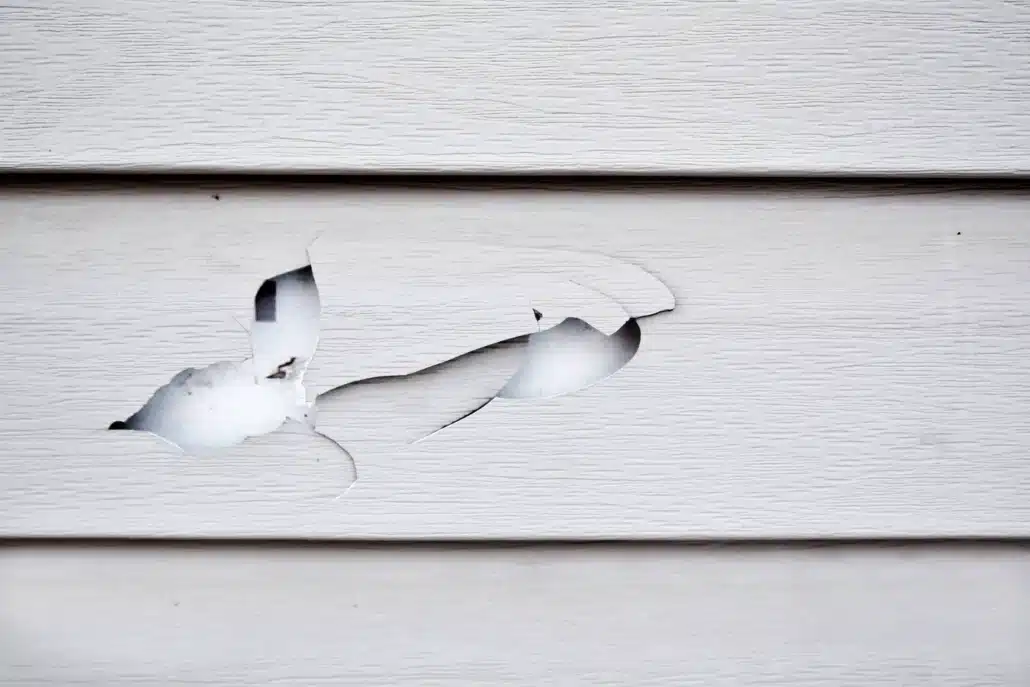
- Inspecting and Cleaning Siding – Keep an eye on your home’s siding for any signs of damage, wear, or algae growth. Clean siding not only boosts curb appeal but also extends its lifespan and supports the overall structural integrity of your home.
When to Call a Professional
If your home’s gutters are hard to reach, the situation might demand equipment and safety measures beyond what you possess. Professionals are equipped to handle these scenarios safely and efficiently.
Additionally, if you find severe gutter damage or require specialized cleaning methods beyond simple debris removal, a professional’s skill set will ensure the job is done correctly. Their experience can also offer long-term savings by identifying and addressing minor issues before they escalate into major problems.
Conclusion
In summary, mastering gutter cleaning is all about equipping yourself with the right tools and knowledge. With the essentials outlined in this guide, you’re now ready to transform gutter cleaning from a dreaded chore into an efficient task.
However, knowing when to call in the professionals is just as important as the tools in your hand! To have an expert take a look at your gutters or to schedule an inspection of the whole house, reach out to Inside and Out Property Inspectors in Jacksonville, FL, and surrounding areas.