
10 Fresh and Simple Bedroom Accent Wall Ideas
Adding an accent wall is one of the easiest and most affordable ways to transform a space without opting for a full remodel. Whether the goal is to personalize the room, create a cozy retreat, or boost appeal for potential buyers, a well-designed accent wall delivers noticeable results with minimal effort. The best part is that there are plenty of fresh and simple bedroom accent wall ideas that fit every style and budget.
From quick paint upgrades to creative textures, this guide shares practical ways to refresh your space while protecting the walls and your investment.
Why a Bedroom Accent Wall is a Smart Upgrade
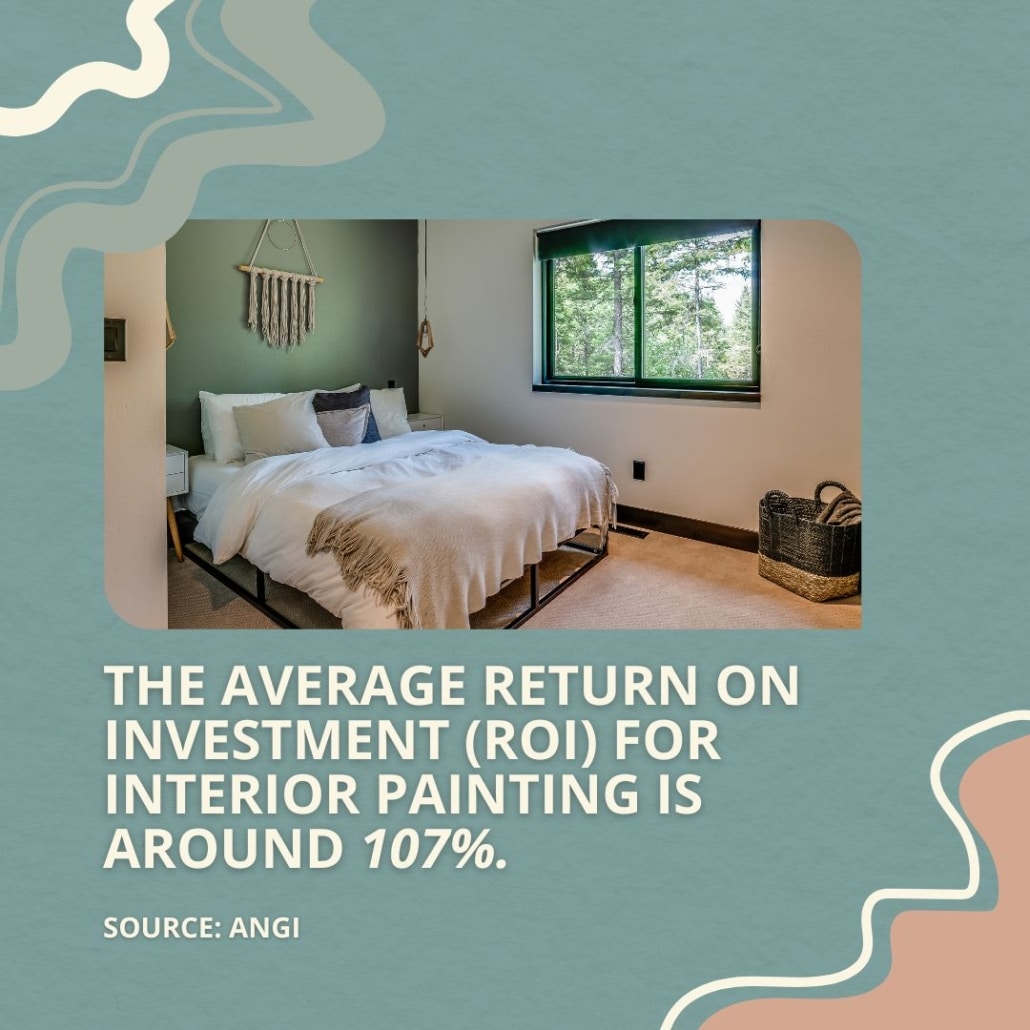
Beyond aesthetics, accent walls are budget-friendly and typically easy to complete in a weekend. For those preparing to sell their home, neutral or broadly appealing designs can subtly increase buyer interest.
Well-executed cosmetic upgrades, including accent walls, can positively influence a buyer’s perception of a home and help them visualize themselves (and their things) living there.
10 Bedroom Accent Wall Ideas
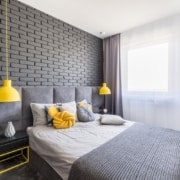
1. Contrasting Paint Colors
A fresh coat of paint in a vibrant or contrasting color is a quick way to make a statement. Rich blues, deep greens, or warm earth tones can add depth and coziness. If you’re thinking about resale, versatile shades like soft grays or muted greens can attract more potential buyers.
2. Wood Paneling and Slats
Wood accents bring warmth and texture. Vertical slats can make the ceiling appear higher, while horizontal designs can make the room feel more spacious. Proper installation is key to prevent gaps or moisture-related issues later.
3. Peel-and-Stick Wallpaper
Perfect for renters or homeowners seeking flexibility, peel-and-stick wallpaper comes in countless patterns and textures. It’s easy to apply and remove, allowing you to refresh your space without long-term commitment.
4. Textured Paint Techniques
Techniques like sponging or creating a gradient effect can give a plain wall new dimension. These options require minimal materials but can have a big visual impact.
5. Shiplap or Wainscoting
Shiplap adds rustic charm, while wainscoting offers an elegant touch. Both styles work in various interiors and can be painted to match or contrast with existing décor.
6. Stone or Brick Veneer
Stone and brick veneers offer a rustic or industrial look but require proper installation to avoid moisture buildup. Be careful with this option, since improper veneer installation can lead to trapped moisture, increasing the risk of mold or structural damage.
7. Gallery Wall with Photos or Art
A personalized gallery wall can highlight family photos or favorite artwork. It’s an easy way to add character while remaining flexible for future updates.
8. Accent Shelving with Decor
Floating shelves serve as both décor and functional storage. Display books, plants, or art to create layers of visual interest.
9. Fabric or Upholstered Panels
Fabric panels add softness and improve sound insulation. They’re ideal for bedrooms needing a cozy, quiet atmosphere.
10. LED Lighting or Sconce Accents
Lighting can dramatically enhance your accent wall. Wall sconces or LED strips highlight textures and add ambiance without taking up floor space.
What to Watch Out for With Accent Walls
Accent walls are generally simple projects, but a few considerations are important to ensure lasting results. Moisture buildup behind certain materials, like wood or stone veneers, can lead to mold growth or structural damage. Just make sure the walls are dry and structurally sound before applying heavy materials!
Resale value is another factor to consider. While accent walls can enhance a home’s appeal, overly bold or highly personalized designs may limit buyer interest.
According to the NAR 2024 Remodeling Impact Report, neutral and subtle accent walls tend to appeal to a wider range of buyers and can increase perceived home value more than trendy or niche designs.
To avoid issues, make sure to:
- Inspect walls for moisture or cracks before starting the project
- Choose materials suitable for the room’s environment (e.g., moisture-resistant panels for humid areas)
- Opt for colors and textures that complement the home’s overall aesthetic
Other Simple Ways to Refresh a Bedroom
- Update bedding with fresh, textured fabrics
- Swap out outdated lighting fixtures for modern options
- Add new curtains or blinds for a finished look
- Place a statement rug to anchor the room
- Rearrange furniture to improve flow and openness
Recommended Maintenance
- Check for drafts or moisture before installing any wall coverings
- Inspect for cracks or uneven surfaces that may affect material adherence
- Verify that electrical outlets and switches are secure if adding lighting or shelves
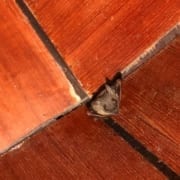
When to Call a Professional
If you notice signs like wall cracks, water stains, or peeling paint, a home inspection can identify hidden issues that may need attention before adding new materials. Inside and Out Property Inspectors can evaluate the integrity of your walls so your upgrades don’t conceal bigger problems.
Projects involving electrical wiring, structural modifications, or heavy materials also warrant professional input. For homeowners preparing to sell, a pre-listing inspection can highlight potential concerns, making sure your improvements enhance value rather than raise red flags during a buyer’s inspection.
Conclusion
With plenty of fresh, budget-friendly options available, you can create a design that reflects your style while keeping resale potential in mind. Planning ahead and addressing any hidden issues ensures your upgrade remains beautiful and problem-free.
Thinking about a home refresh? Make sure it’s in top shape first. Inside and Out Property Inspectors can help you catch potential issues before they mean trouble—schedule your inspection today.


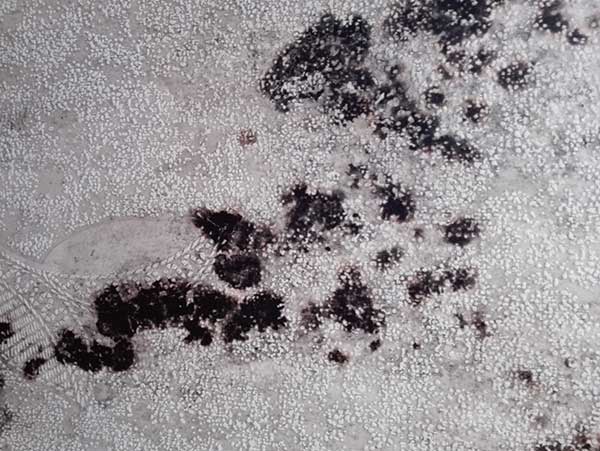 Believe it or not, mold is actually an important part of Nature and the source of food and medicines. Mold plays an important role in breaking down organic matter like dead leaves and limbs. It is also used to make penicillin and in the making of some cheeses, such as brie. But mold in your home is not only ugly, but can be dangerous to your health.
