5 Steps to a Clean Sink Faucet Head
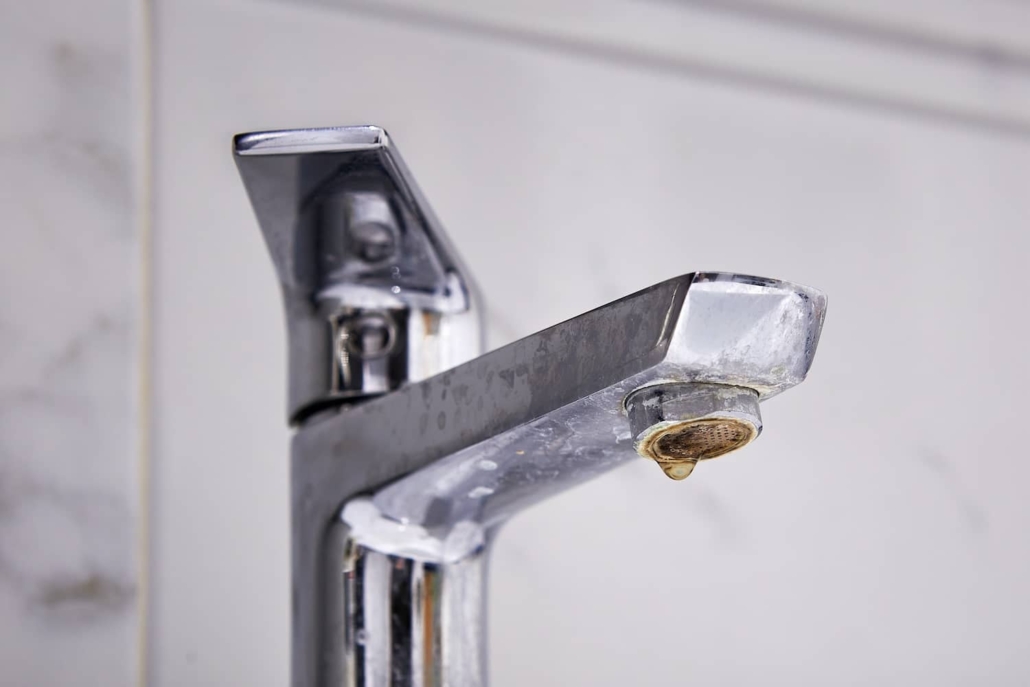
A clean head on your sink faucet is essential for both the aesthetic appeal and functionality of any bathroom or kitchen. When mineral deposits, limescale, and grime build up on the faucet head, it can lead to unsightly stains, reduced water pressure, and even potential health hazards.
Luckily, cleaning this often-forgotten spot is a straightforward process that can be accomplished with minimal effort and a few simple household items. In this post, we’ll explore the importance of keeping your faucet head clean and provide a detailed guide on how to achieve the best results with ease.
Why it Matters
Over time, mineral deposits from hard water can accumulate on the faucet head, leading to clogs and reduced water pressure. This buildup affects the performance of your faucet and can create a breeding ground for harmful bacteria and germs.
Moreover, a dirty or stained faucet head can detract from the overall appearance of your sink and bathroom. By regularly cleaning your sink faucet head, you can prevent these issues and ensure that your faucet continues to function properly while maintaining a fresh, clean look.
In addition to the aesthetic and functional benefits, keeping your faucet head clean can also extend its lifespan. When mineral deposits and grime are left to accumulate, they can cause damage to the faucet’s components, leading to leaks and the need for costly repairs or replacements.

Step 1: Assemble Your Cleaning Kit
Before you begin the process of cleaning your sink faucet head, it’s essential to gather all the necessary supplies. This will ensure a smooth and efficient cleaning experience without interruptions. Here’s what you’ll need:
- White vinegar – This common household item is a natural and effective cleaning solution for dissolving mineral deposits and grime.
- Baking soda – When combined with vinegar, baking soda creates a powerful cleaning paste that can help scrub away stubborn stains.
- An old toothbrush or a soft-bristled brush – Either one will work! A small brush will allow you to reach tight spaces and crevices, making it easier to remove buildup.
- A soft cloth or sponge – Use this to wipe down the faucet head and surrounding areas after cleaning.
- A bowl or cup – You’ll need a container to soak the faucet head in the vinegar solution.
- Rubber gloves (optional) – If you have sensitive skin or want to protect your hands from the cleaning solution, wear a pair of rubber gloves.
As an alternative, you can replace the white vinegar with lemon juice, which has similar acidic properties that help break down mineral deposits.
Step 2: Safely Remove the Faucet Head
With your cleaning supplies ready, it’s time to dismantle the faucet head for a thorough cleaning. Before you begin, it’s crucial to turn off the water supply to your sink! This will prevent any accidental leaks or flooding. Locate the shut-off valves beneath the sink and turn them clockwise until they are fully closed.
Next, carefully unscrew the faucet head from the base. Depending on your faucet model, you may be able to do this by hand or with the help of pliers. If you’re using pliers, place a soft cloth between the pliers and the faucet head. This will help avoid scratching or damaging the finish.
As you remove the faucet head, take note of any small parts, such as washers or O-rings, that may come loose. Set these aside in a safe place, so you don’t lose them during the cleaning process. If your faucet head is particularly old or corroded, consider taking a photo or making a quick sketch of how the components fit together to ensure proper reassembly later.
If you encounter significant resistance when attempting to remove the faucet head or if you’re unsure about the process, it’s best to consult your faucet’s user manual or contact a professional plumber to avoid causing damage to your sink or faucet.
Step 3: Deep Clean the Sink Faucet Head
Now that you have successfully removed the faucet head, it’s time to give it a deep clean. Fill a bowl or cup with equal parts white vinegar and warm water, creating a cleaning solution that will help dissolve the buildup.
Submerge the faucet head in the vinegar solution, ensuring that all the components are fully covered. Allow the faucet head to soak for at least 30 minutes to an hour, depending on the severity of the buildup. For particularly stubborn deposits, you may need to let it soak overnight.
After soaking, use an old toothbrush or soft-bristled brush to gently scrub the faucet head and its components. Pay special attention to the small holes and crevices where mineral deposits tend to accumulate. The combination of the vinegar solution and the scrubbing action will help loosen and remove the grime.
If you encounter any stubborn stains or deposits that don’t come off with the vinegar solution alone, create a paste using equal parts baking soda and water. Apply this paste to the affected areas and let it sit for a few minutes before scrubbing with the brush. The abrasive nature of the baking soda will help remove the remaining buildup without damaging the faucet head’s finish.
Once you’ve finished scrubbing, rinse the faucet head and its components thoroughly under running water to remove any remaining solution or loosened grime. You’re now ready to get it reassembled!
Step 4: Reassembling the Faucet Head
Begin by giving each component a thorough check to ensure that no traces of vinegar or baking soda paste remain. Any residue could affect the taste or quality of your water.
For any small parts that were removed, such as washers or O-rings, have them ready for reassembly. Refer to the photo or sketch you made earlier! For faucet heads with a screw-on connection:
- Carefully thread the faucet head back onto the base, using your hands to tighten it initially.
- Use pliers to give it a final, gentle turn to ensure a secure fit. Place a soft cloth between the pliers and the faucet head to protect the finish from scratches or damage.
For faucet heads with a snap-on connection, simply align the faucet head with the base and press it into place. Do this until you hear a clicking sound, indicating that it’s securely attached.
Once the faucet head is back on, double-check that all components, including washers and O-rings, are secure to prevent any issues when you turn the water back on. After reassembling the faucet head, turn the water supply valves counterclockwise to restore water flow to your sink.
Step 5: Test Your Faucet
With your faucet head clean and reassembled and the water supply restored, it’s time to test it out. Slowly turn on your faucet and let the water run for a few seconds. This will help flush out any remaining debris or cleaning solution that may have been trapped inside the faucet head.
As the water flows, check for any leaks or drips around the base of the faucet head or the connections. If you notice any leaks, turn off the water supply and double-check that all components are properly seated and tightened. If the leaks persist, you may need to replace any worn-out washers or O-rings.
Assuming there are no leaks, take a moment to admire the improved water pressure and flow. The deep cleaning process should have unclogged any blocked holes or crevices in the faucet head. Enjoy the satisfying sight of a steady, full stream of water coming from your newly cleaned faucet head!

Other Recommended Maintenance
In addition to regularly giving your sink head a clean, some other simple maintenance tasks can help keep your faucet functioning properly and looking its best.
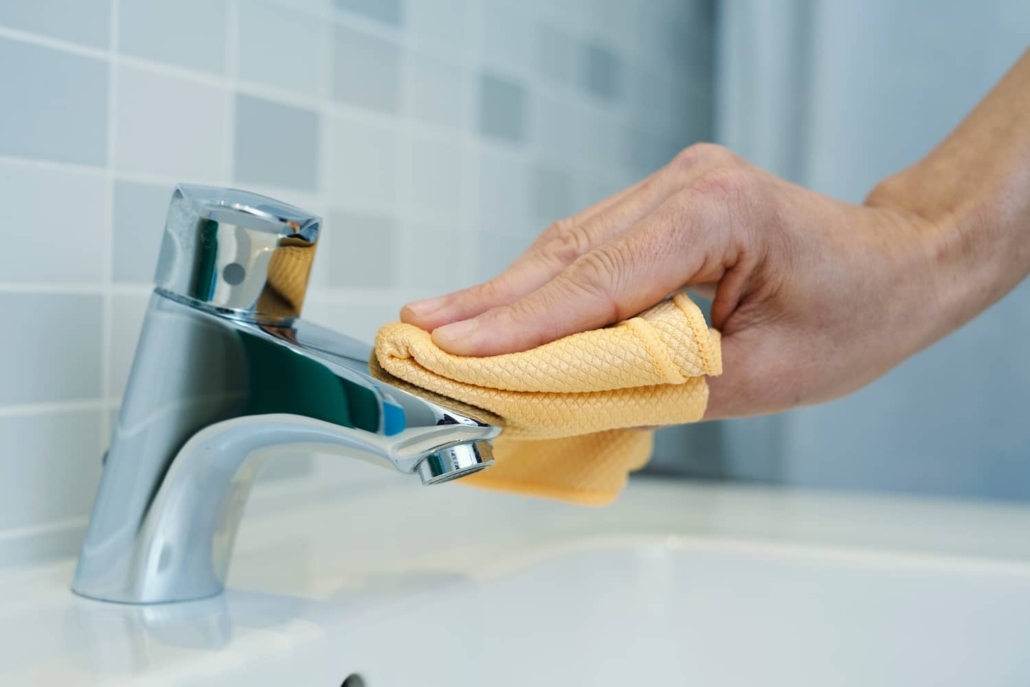
- Clean the faucet body – While cleaning the faucet head, don’t forget to give the faucet body a thorough wipe-down. Use a soft cloth or sponge and a mild cleaning solution to remove any soap scum, water spots, or grime. This will help maintain the faucet’s finish and prevent corrosion.
- Check for leaks – Periodically inspect your faucet for any signs of leaks, not just after cleaning the faucet head. Check the base of the faucet, the connections, and the handles for any drips or pooling water. If you notice any leaks, address them promptly to avoid water damage and wasted water.
- Lubricate the handles – If your faucet handles become stiff or difficult to turn, a simple lubrication can help. Apply a small amount of silicone-based grease or plumber’s grease to the base of the handles. Then, work them back and forth a few times to distribute the lubricant. This will help keep the handles moving smoothly and prevent wear and tear.
- Replace worn-out parts – Over time, certain components of your faucet, such as washers, O-rings, and seals, can become worn out or damaged. If you notice any leaks, drips, or reduced water pressure that doesn’t improve with cleaning, it may be time to replace these parts. Consult your faucet’s user manual or a professional plumber for guidance on obtaining and installing replacement parts.
When to Call a Professional
If you encounter difficulty removing the faucet head or if you notice any damage to the faucet or sink, stop and get assistance. Forced removal of a stuck faucet head can lead to more serious and costly issues down the line.
Additionally, if you experience persistent leaks, drips, or water pressure problems, a professional plumber can help resolve the issue. Bringing in a trained professional can help ensure that your faucet and plumbing system remain in good working order and avoid potential water damage or costly repairs in the future.
Conclusion
Ultimately, keeping a clean sink faucet head is a simple yet essential task that can greatly improve faucet functionality. Follow these easy steps, and you can effectively remove mineral deposits, limescale, and grime, ensuring a steady flow of clean water and a sparkling finish.
Incorporating this cleaning routine into your regular home maintenance schedule, along with other simple tasks like checking for leaks and lubricating handles, can help you maintain a healthy, efficient, and attractive faucet for years to come. To set up an expert inspection of your home and its main systems in Jacksonville, FL, and surrounding areas, schedule online with Inside and Out Property Inspectors!


