How to Build a Kitchen Island
Looking to optimize your kitchen’s layout, gain extra counter space, and increase storage capacity? Learning how to build a kitchen island could be your perfect solution. With a dash of creativity and some basic tools, you’ll be on your way to crafting a functional and attractive addition to your kitchen.
In this article, we’ll dive into the nitty-gritty of planning and executing this exciting project, step-by-step. Let’s get started!
What You’ll Need
Before getting started, let’s ensure that you have all the necessary materials and tools on hand to build a kitchen island. Having everything ready first makes for a smoother and more enjoyable project. Here’s what you’ll need to build your kitchen island:
Plywood Sheets: These will form the main structure of your island. The number of sheets required will depend on the size of your island.
Countertop Material: This could be anything from granite to butcher block, depending on your preference and budget.
2x4s: These will be used for framing the island base.
Screws and Nails: To hold everything together. Make sure you have different sizes to cater to different needs.
Paint or Stain: To give your kitchen island a finished look that matches or accents your kitchen decor.
Cabinet Doors (optional): If you want to include storage in your kitchen island.
Basic Tools: Including a circular saw or miter saw for cutting the plywood and 2x4s, a drill for securing screws, a hammer, a tape measure for precise measurements, and safety gear (such as gloves and safety glasses).
Remember, the type and quantity of materials may vary depending on the design and size of your kitchen island. Always plan and make sure you have everything you need before starting the project!

Planning Your Kitchen Island
Building a kitchen island takes careful planning. Rushing in without thinking through key details will only cause headaches. Let’s review some important factors to consider during the planning process.
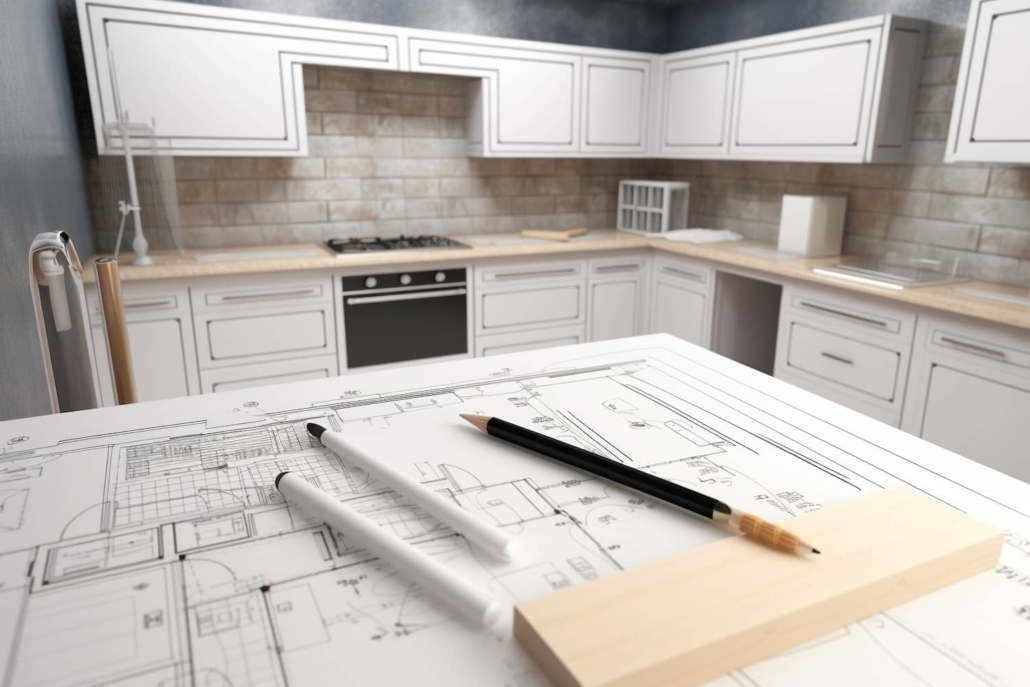
First, determine the optimal size for your space. Take measurements and sketch out different island size options. Leave enough room for meal prep and traffic flow without overwhelming the kitchen.
Next, decide on the ideal location. Placing it in the center of the kitchen maximizes functionality. But pushing it against a wall can work too. Ensure proper clearance from other fixtures no matter the placement.
Also, consider the island’s storage needs. Include cabinets, shelves, and drawers without overloading them. Select durable, budget-friendly materials for countertops and surfaces.
Finally, match your island to your existing decor through color, finishes, and hardware. Or make it pop with contrasting design elements and textures. This careful planning prevents potential problems and sets you up for success when building your kitchen island.
Step-by-Step Guide: How to Build a Kitchen Island
Follow the steps below to construct your dream DIY kitchen island.
Step 1: Preparing the Area
Before starting construction, remove any existing furniture or appliances from the area where you plan to build the island. This will give you a clear workspace. Next, lay down drop cloths or tarps on your kitchen floors to protect them from potential spills, sawdust, and other debris during the building process.
Have all your necessary materials and tools organized and readily available so they are on hand when needed. Put on all important safety gear like gloves, goggles, a dust mask, etc. to protect yourself as you work. Finally, take time to carefully review your plans and instructions before beginning so you understand each step fully and can work efficiently.
Step 2: Building the Base
The first major construction step is building a strong base that will support your island. Start by taking careful measurements and marking where you will cut your plywood sheets according to your plans. Use a circular saw to make straight, smooth cuts in the plywood.
Then, arrange the cut plywood boards face down on your protected floor. Position 2×4 supports 16 inches apart across the boards to provide stability for the base. Predrill holes in the 2x4s, then use wood screws to firmly attach them to the plywood, checking that corner angles are at 90 degrees. You can further reinforce the base by attaching corner braces or metal plates. Allow adequate time for any wood glue used in the base assembly to dry completely before moving on.
Step 3: Adding the Countertop
Once your base is complete, you can move on to installing the countertop. First, make any necessary cutouts in the countertop material for sinks, appliances, etc. before attaching it. Then set the countertop in place on the base and mark the edges and any cutouts you need to transfer to your material.
Carefully cut the countertop material to size using a jigsaw or handsaw. Run a bead of high-quality construction adhesive along the edges and supports where the countertop will attach. Then carefully lay the countertop onto the base, securing it from below with 2” screws into the supports. Large slabs may need two people to maneuver safely, so it’s always best to have a friend nearby!
Step 4: Installing the Cabinets
If your design includes storage, measure the space between the legs to determine cabinet dimensions. Build the cabinet boxes to fit, assembling them with wood glue and nails. Install hinges, then slide the cabinets into place between the legs. Predrill holes and screw the cabinets securely into the legs or stretchers. Attach the doors and test opening and closing to ensure smooth operation. Adjust hinges as needed.
Finally, add adjustable shelves to maximize storage capability. Make any front panels or face frames to cover exposed cabinet ends.

Step 5: Finishing Touches
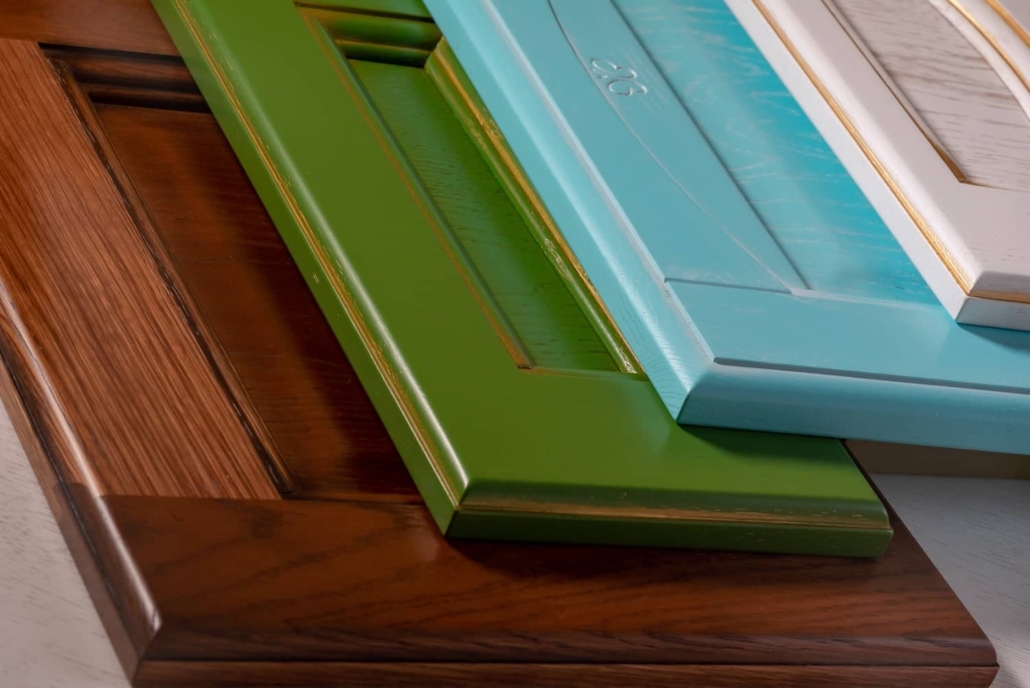
Adding final decorative details and finishes allows you to inject your style into the island. The possibilities are endless! For the exposed wood elements, consider sanding surfaces smooth and staining, painting, or sealing the wood. Stain allows the wood grain to show through, while paint covers it up for a bold, solid color. Use high-quality polyurethane or waterproofing sealant to protect the wood from moisture and staining.
For decorative accents, attach trim pieces, panels, or molding to complement your kitchen’s existing style. Under-cabinet lighting illuminates the workspace, while pendant lights above add ambiance. If you want to change up the look down the road, installing a fresh backsplash tile is an easy upgrade. Have fun and get creative with the final touches to make your DIY kitchen island truly unique!
Other Recommended Maintenance
To keep your new DIY kitchen island functioning properly and maintain its great look for years to come, be sure to follow some key maintenance practices.
Clean all countertops, cabinets, and surfaces regularly using gentle cleaners specifically formulated for the materials used. For example, use a pH-balanced stone cleaner for granite. Thoroughly dry everything after cleaning to prevent moisture damage, especially around the sink, faucet, and countertop edges.
Routinely inspect for any signs of wear and tear or damage. Keep an eye out for hairline cracks in countertops, loosening hardware on cabinets or drawers, or sagging base supports. Make any repairs immediately as soon as an issue arises to prevent small problems from escalating.
Remember to periodically tighten and lubricate any sticky or squeaky drawer slides, hinges, and cabinet hardware pulls to ensure smooth opening and closing. Reapply sealants to countertops annually to maintain waterproof protection, consulting manufacturer guidelines for good measure.
When to Call a Professional
While DIY projects allow you to sharpen your skills, certain situations call for handing things over to a licensed professional.
Any complex plumbing work like installing a sink or dishwasher requires a contractor, as does electrical work beyond basic lighting. If structural issues arise such as a sagging base, have an expert assess and repair it. Don’t hesitate to call in help if your project feels overwhelming at any point to get it across the finish line. A professional inspection after the build provides useful peace of mind and ensures your island is safe, compliant, and built to last. Though DIY can be very rewarding, knowing when to call a qualified pro is important!
Conclusion
With proper planning, the right tools, and this step-by-step guide, you can successfully build a stunning kitchen island that will serve as a centerpiece in your home for years. Preparing your workspace, constructing a sturdy base, installing cabinets and countertops, and adding decorative finishes are all manageable steps for a dedicated DIYer. Don’t forget to maintain your new island through regular cleaning, upkeep, and annual inspections.
While independent projects can be gratifying, don’t hesitate to request a second pair of eyes for the sake of safety. Whether you’re planning to create your kitchen island soon or just have questions about your current kitchen function, the experts with Inside & Out Property Inspections are here to help. Reach out today for a professional inspection in Jacksonville, FL, and surrounding areas!


