
Parts of a Deck That Matter Most During Inspections
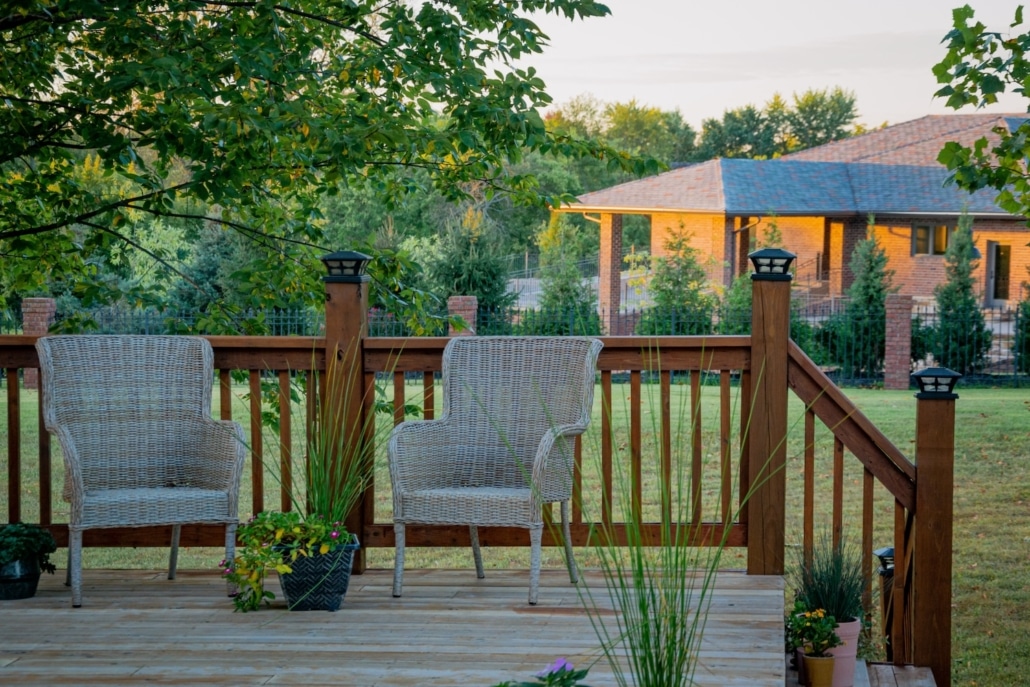
A well-built deck can be one of the most beautiful and functional parts of any home. It creates extra living space, boosts curb appeal, and provides a place for gatherings or quiet evenings outdoors.
But decks also come with risks if they are not built or maintained properly. About 30 million decks in the United States are past their useful life or need significant repairs.
Whether you are a buyer, seller, building one, or maintaining an old one, understanding the main players in structural soundness is important.
The Main Structural Parts of a Deck
Every deck includes several key components that work together to support weight, resist movement, and provide a safe surface for use.
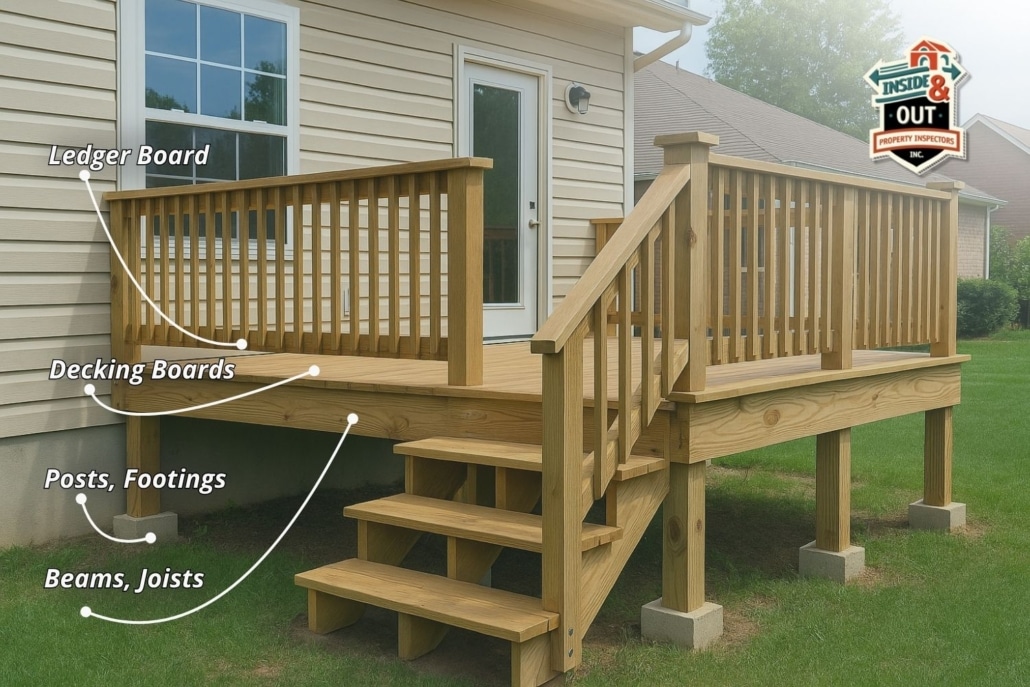
Ledger board
This is the board that connects the deck to the house. It bears much of the deck’s load and must be securely fastened with bolts or lag screws. Improper attachment or missing flashing can lead to rot, water damage, or even deck collapse. The Building Science Corporation highlights that poor ledger connection is one of the most common causes of deck failures.
Posts and footings
Deck posts support the structure vertically and rest on concrete footings or piers. Posts should be made of pressure-treated wood or another material designed to resist rot and insect damage. The footings must be deep enough and wide enough to support the load and prevent movement, especially in areas with soft or shifting soil.
Beams and joists
Beams run horizontally and support the joists, which in turn hold up the decking boards. Proper spacing and secure connections are critical to prevent sagging or uneven surfaces. The International Residential Code provides standards for joist size and spacing based on the size of the deck and expected loads.
Decking boards
These are the boards you walk on. They can be made of wood, composite, or synthetic materials. Decking boards should be properly fastened and free of significant cracks, rot, or splintering.
Railings and stairs
Railings are required on decks that are more than 30 inches above the ground. They must be sturdy and at the correct height for safety. Stairs should have consistent rise and run, solid stringers, and secure handrails.
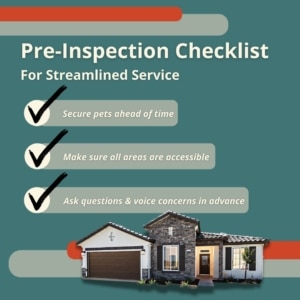
What Inspectors Focus On
When Inside & Out evaluates a deck, we look at both the structural integrity and overall condition. Some of the most common issues we report include…
• Improper or corroded fasteners at the ledger board
• Posts that are rotting at the base or not properly attached to footings
• Joists or beams that are undersized, poorly spaced, or damaged
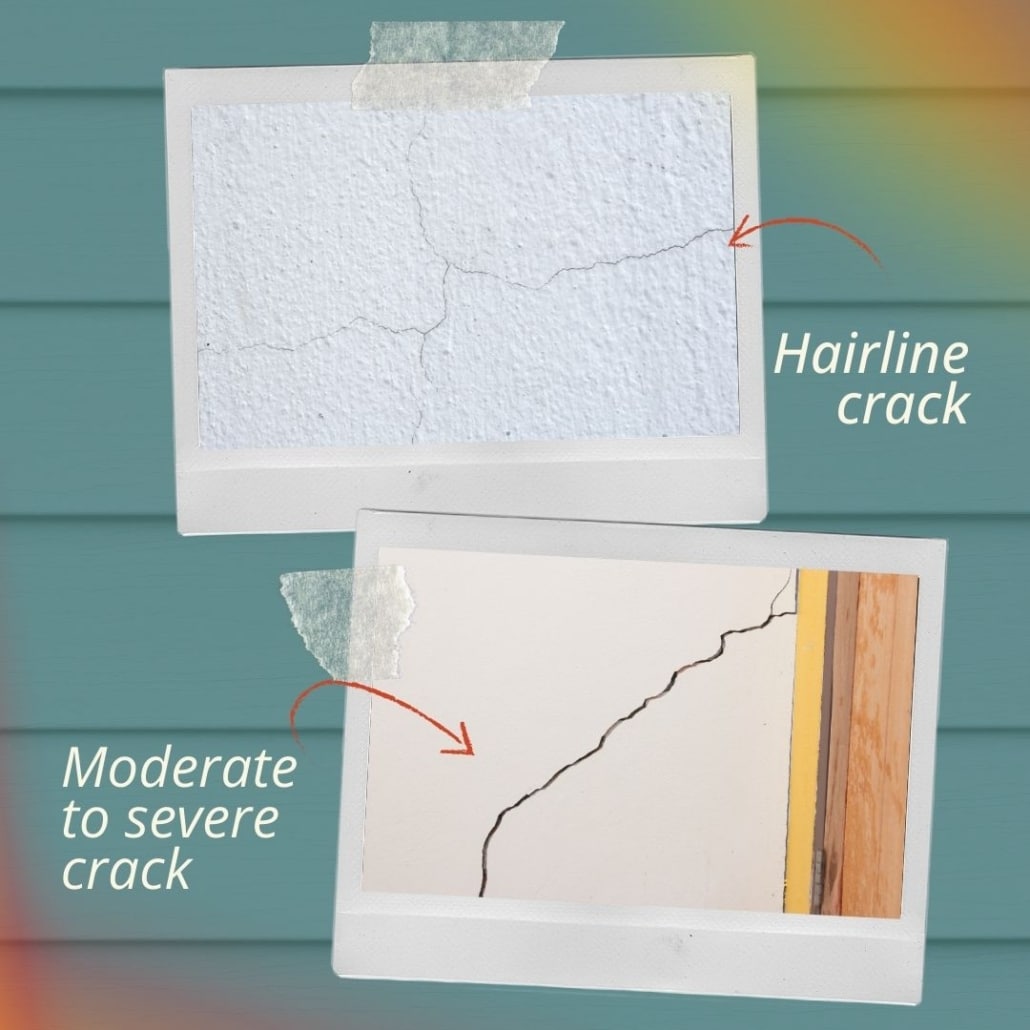
• Decking that is loose, cracked, or significantly worn
• Railings that are loose, too low, or missing entirely
• Stairs that are uneven or lack proper handrails
We also check for signs of moisture damage, insect activity, and improper drainage around the deck. These can contribute to faster deterioration and potential safety hazards.
Why It Matters for Buyers and Sellers
A deck that looks fine at first glance might still have hidden issues. Buyers often see a deck as a desirable feature, but a failing deck can become a major expense. For sellers, addressing deck concerns before listing a home can help prevent last-minute negotiations or delays during escrow.
For agents, understanding the key parts of a deck can help guide clients through inspection findings and support smoother transactions.
According to the National Association of Realtors, outdoor living spaces, including decks, are among the most sought-after features for buyers today. But that appeal depends on safety and sound construction.
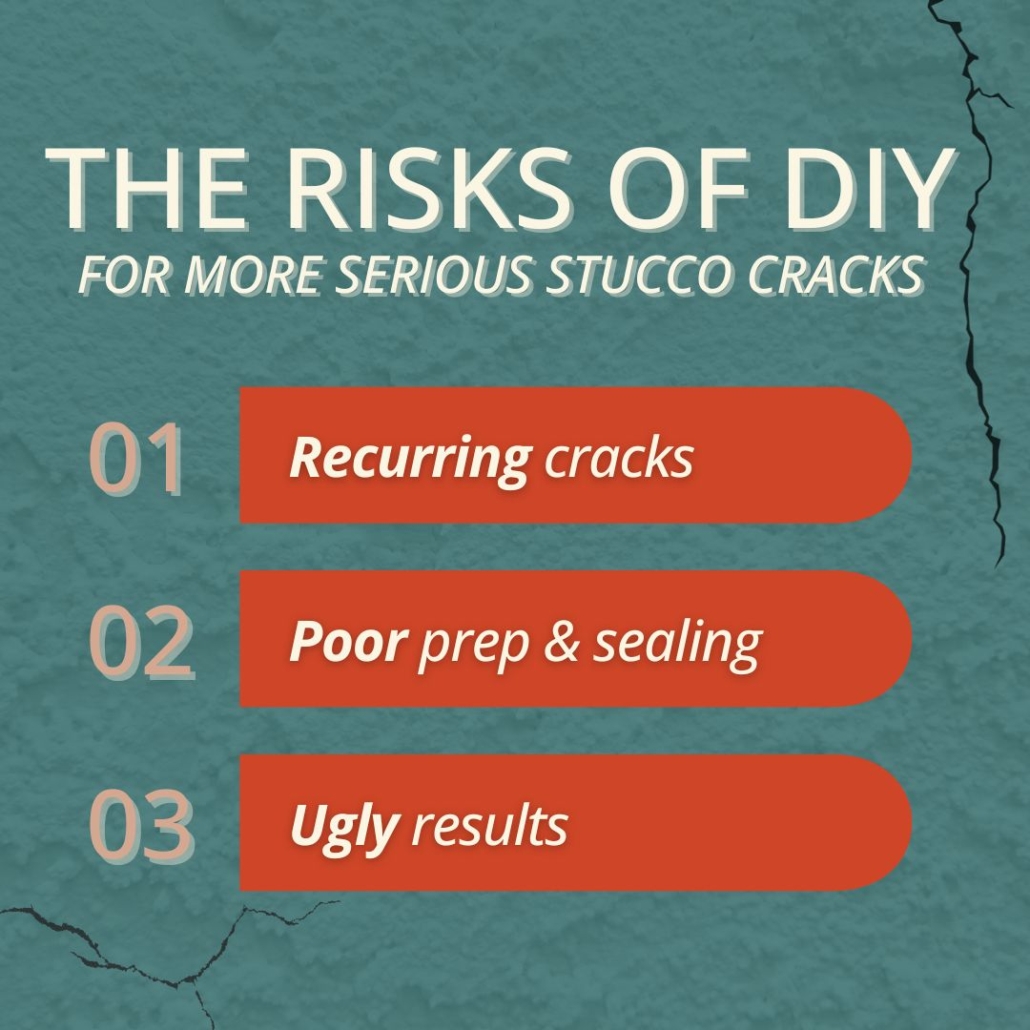
When to Call a Professional
If an inspection reveals issues with the deck’s structure, connections, or safety features, it is important to bring in a qualified contractor or structural engineer. They can determine whether repairs are possible or if rebuilding is needed.
You should consider a professional evaluation if you notice:
• Visible rot or insect damage on posts, beams, or joists
• The deck pulling away from the house
• Significant sagging or movement when walking on the deck
• Loose or unstable railings
• Stairs that feel shaky or uneven
Repairs should follow local building codes and best practices to ensure the deck is safe and durable.
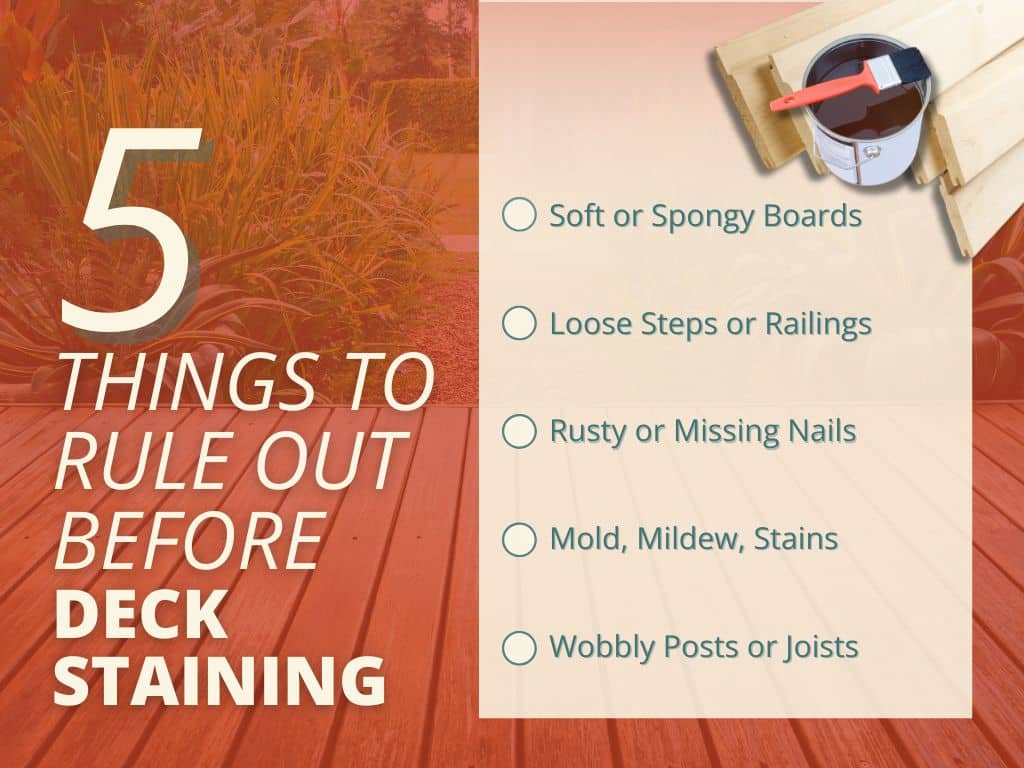
Maintenance Tips
Regular maintenance helps extend the life of a deck and reduce the risk of major repairs. Homeowners should:
• Inspect the deck at least once a year for signs of wear or damage
• Clean the deck surface to remove dirt, leaves, and debris that can trap moisture
• Apply water-repellent sealers as needed, especially for wood decks
• Keep plants and landscaping trimmed back from the deck to allow airflow
• Check fasteners and hardware for rust or corrosion and replace as needed
Proper care not only improves the look of the deck but also helps preserve its structural integrity over time.
A Few Related Questions
Can a deck fail a home inspection?
We don’t give decks a pass or fail, but we report safety or structural concerns. These issues can affect the sale if repairs are needed.
What are the biggest deck safety risks?
Loose railings, weak ledger connections, rotting posts, and unstable stairs are the most common hazards we find.
Do older decks need to meet today’s code?
Not unless major repairs or rebuilding are done. We check if it’s safe as it stands.
Can deck issues delay a sale?
Yes, serious problems can cause lenders or buyers to ask for repairs before closing.
Should I get a separate deck inspection?
For large, old, or complex decks, it’s smart to have a specialist take a closer look.
Conclusion
Decks add value and enjoyment to a home, but they need to be built and maintained properly to stay safe. Understanding the key parts of a deck and what inspectors look for helps buyers, sellers, and agents make informed decisions.
If concerns come up during an inspection, working with a qualified professional ensures that repairs are done right.