What Can You Do About Low Household Water Pressure?
When water pressure drops, the entire household will notice. Everything from taking a shower to running the dishwasher becomes frustrating. Low water pressure is a common issue in homes across the region, and while it may seem minor, it can point to larger plumbing concerns.
Understanding the cause is the first step. Whether it is a single fixture or a whole-house issue, there are practical steps you can take to improve water flow and protect your plumbing system.
What Counts as Low Water Pressure?
Typical household water pressure should fall between 40 and 60 psi (pounds per square inch). If you are seeing less than 30 psi or your fixtures struggle to deliver a steady stream, you may have a pressure problem.
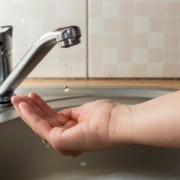
Signs include:
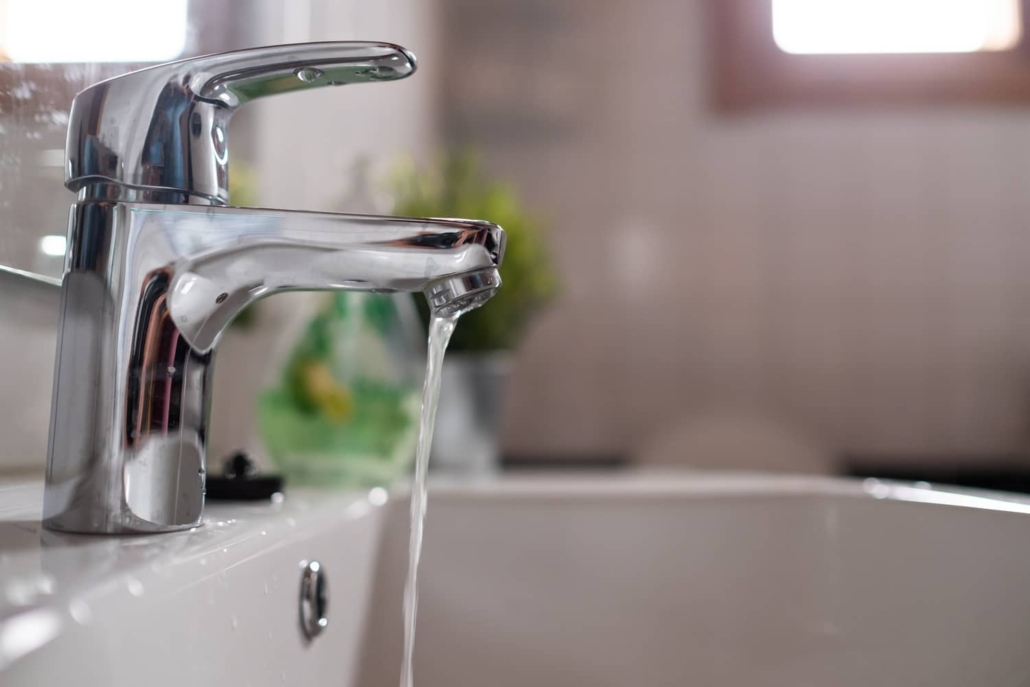
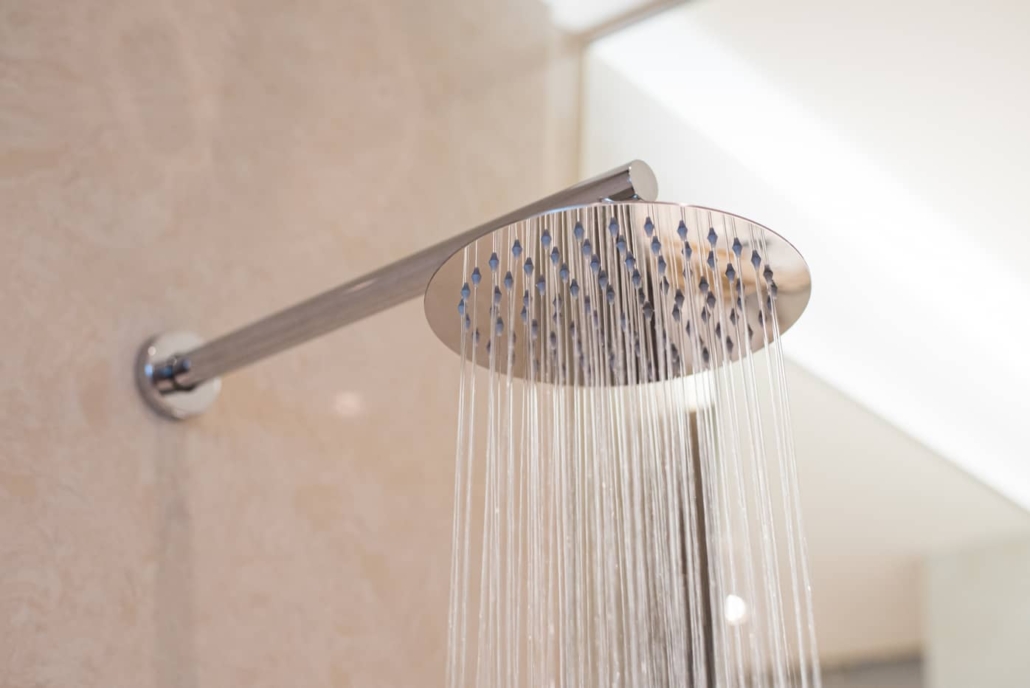
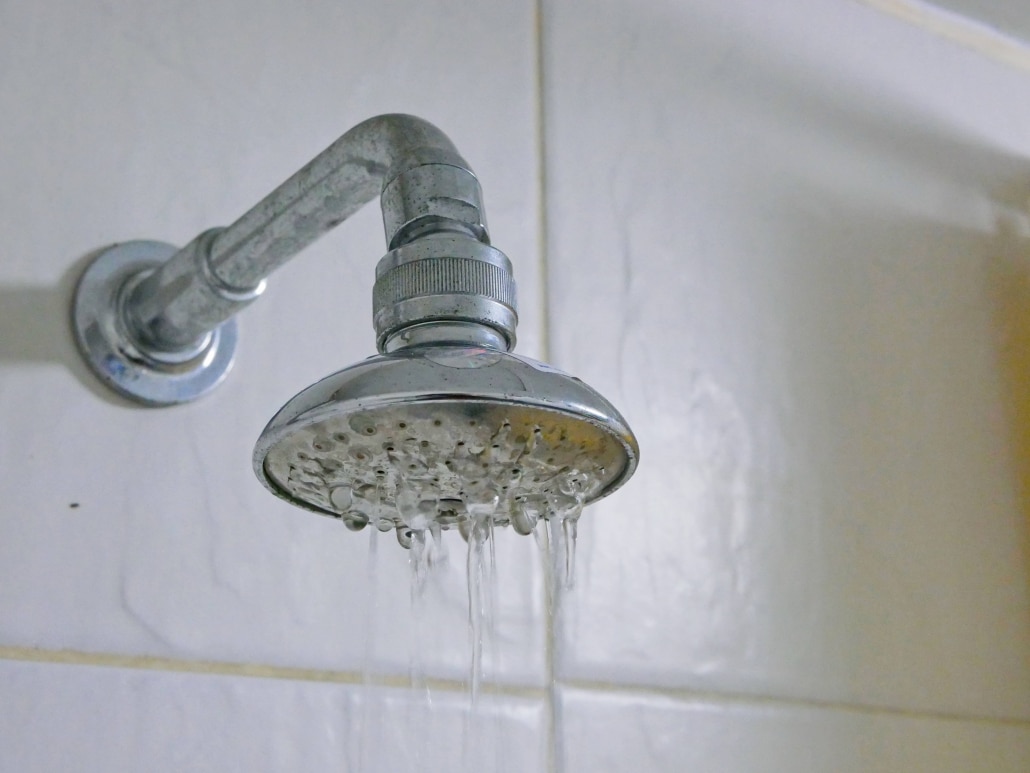
- Weak flow from faucets or showerheads
- Washing machine or dishwasher cycles taking longer
- Toilets refilling slowly
- Sudden drops in pressure during use
- Sprinklers not reaching full spray
Some pressure fluctuations are normal, especially during peak usage times. But consistent low pressure is worth investigating.
Common Causes of Low Household Water Pressure
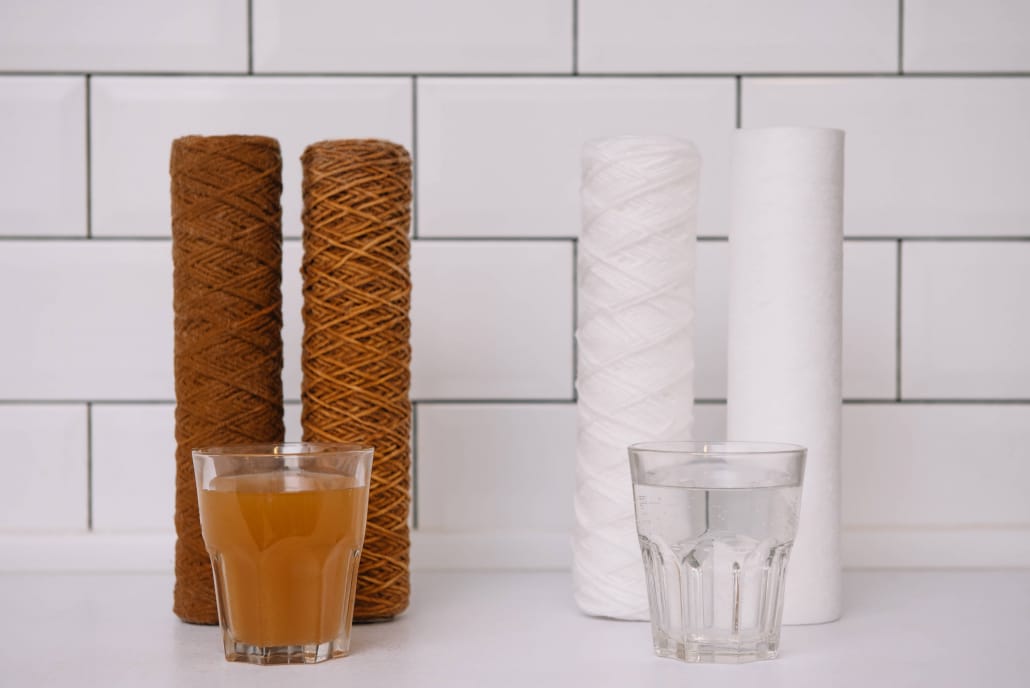
1. Clogged or Corroded Pipes
Over time, mineral buildup or corrosion inside older pipes can restrict water flow. Galvanized steel pipes are especially prone to this. If your home was built before the 1970s and has never had a plumbing upgrade, old pipes may be to blame. Rust buildup can shrink the internal diameter of the pipes, restricting flow to showers, faucets, and even outdoor spigots.
2. Partially Closed Shutoff Valves
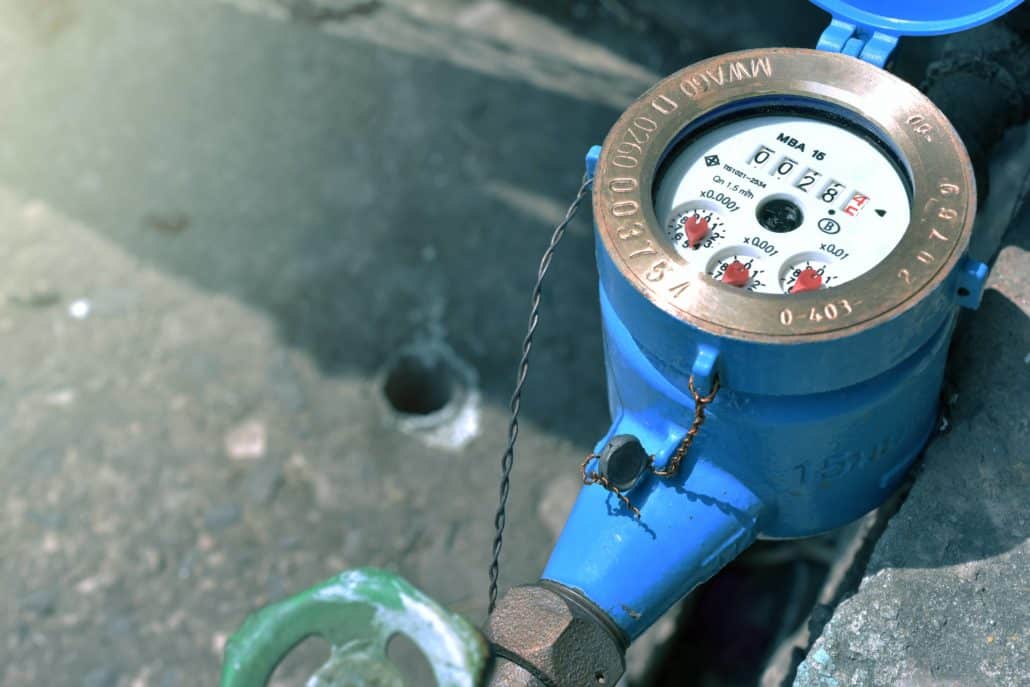
If a water valve inside or outside the home is not fully open, it can reduce flow. This often happens after plumbing repairs when valves are not reopened completely. Make sure both the main shutoff and water meter valve are in the fully open position.
3. Faulty Pressure Regulator
Some homes have a pressure-reducing valve (PRV) that controls water flow into the house. If it fails or malfunctions, your pressure could spike or dip suddenly. A failing PRV can lead to inconsistent water pressure throughout the home, and it often requires replacement by a professional.
4. Municipal Supply Issues
Sometimes the issue lies with the water supplier. Utility work, broken mains, or local regulations could affect the pressure in your home. Your neighbors may experience similar symptoms. If it is a municipal problem, a quick call to the utility company can give you clarity.
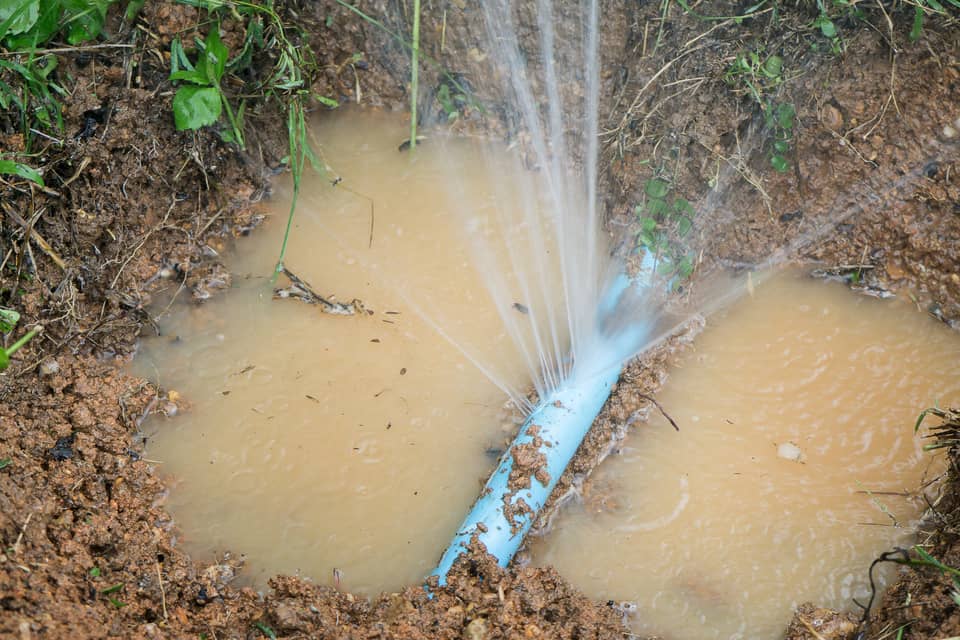
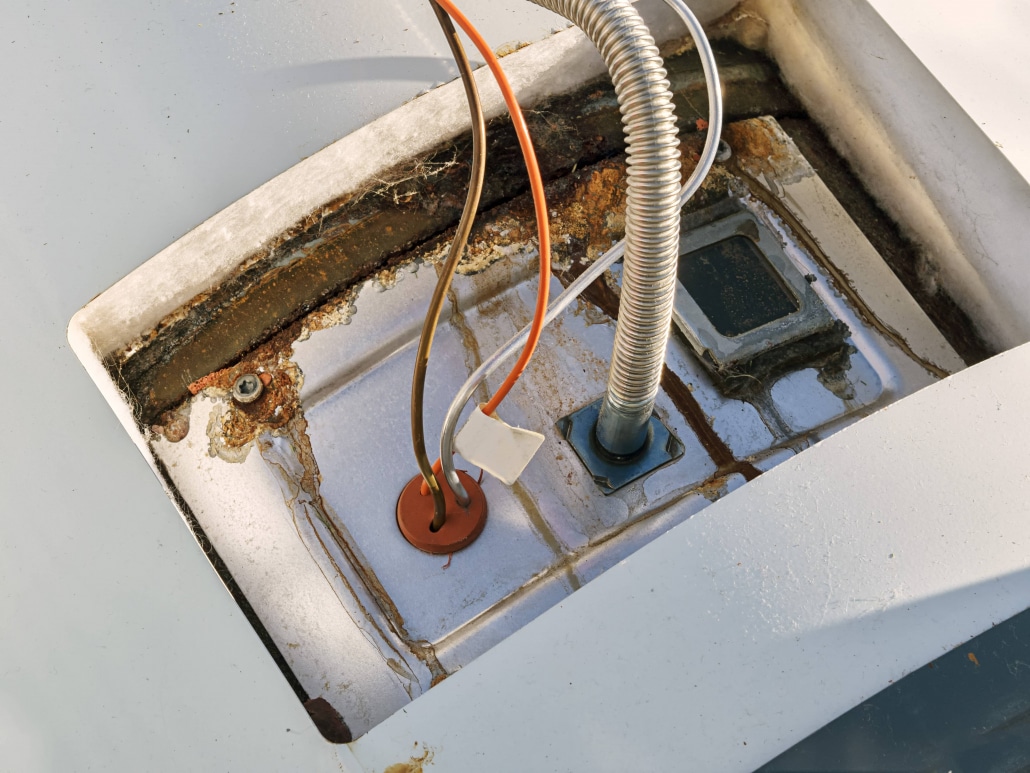
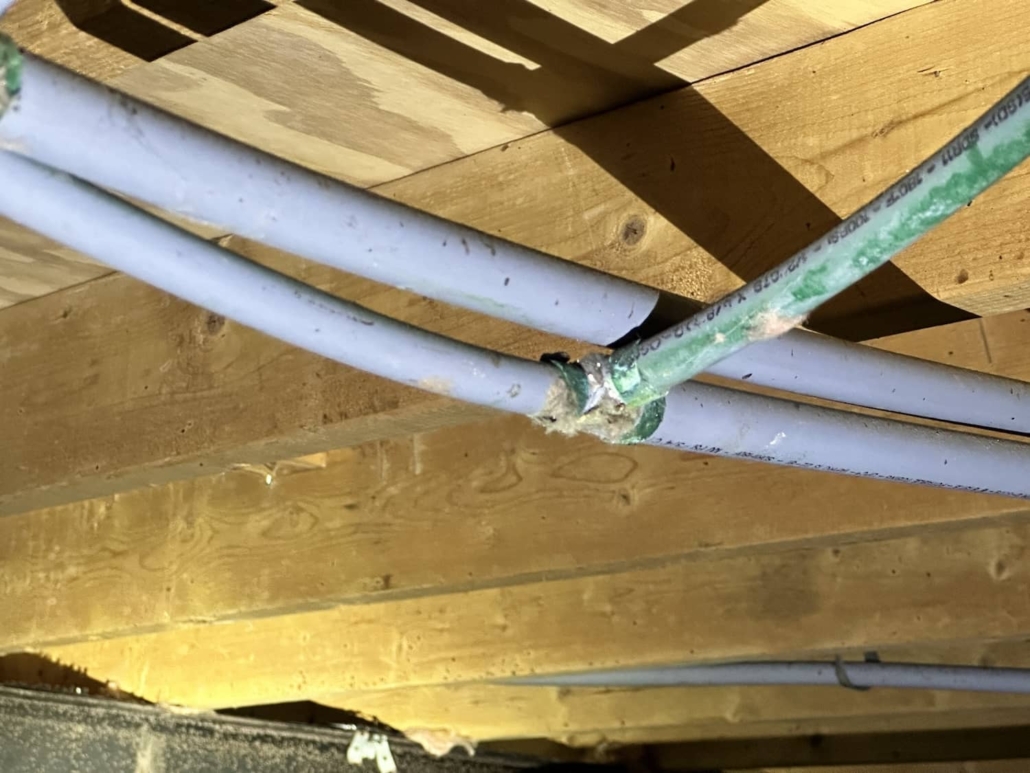
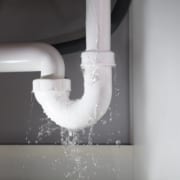
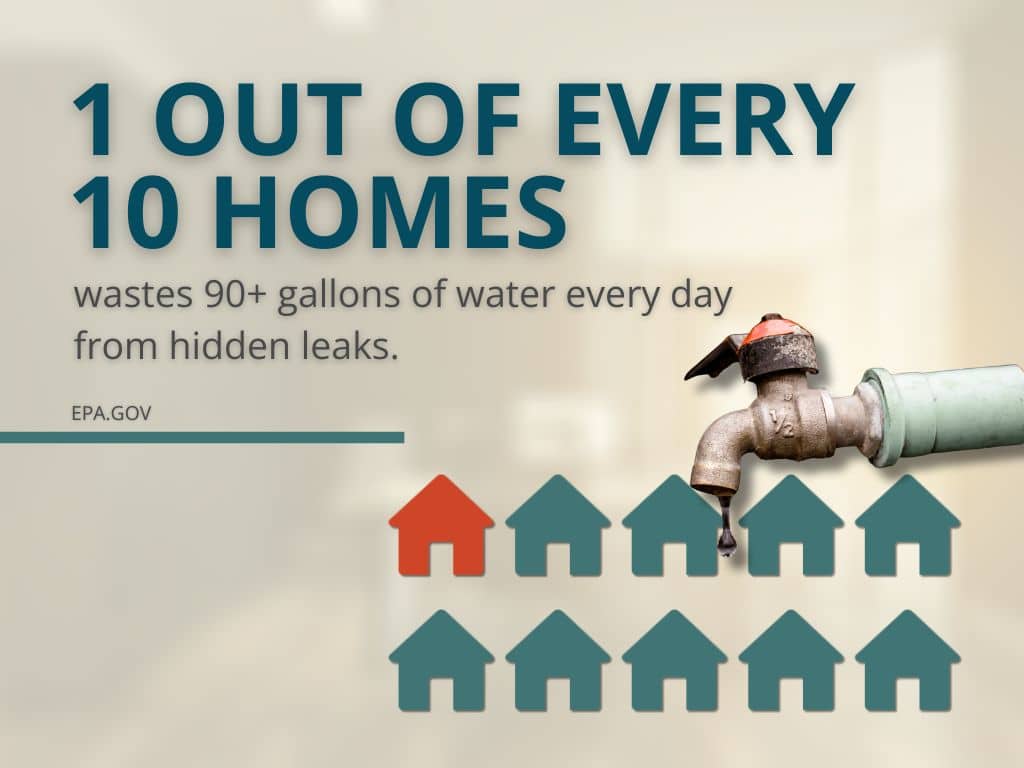
5. Leaks in the System
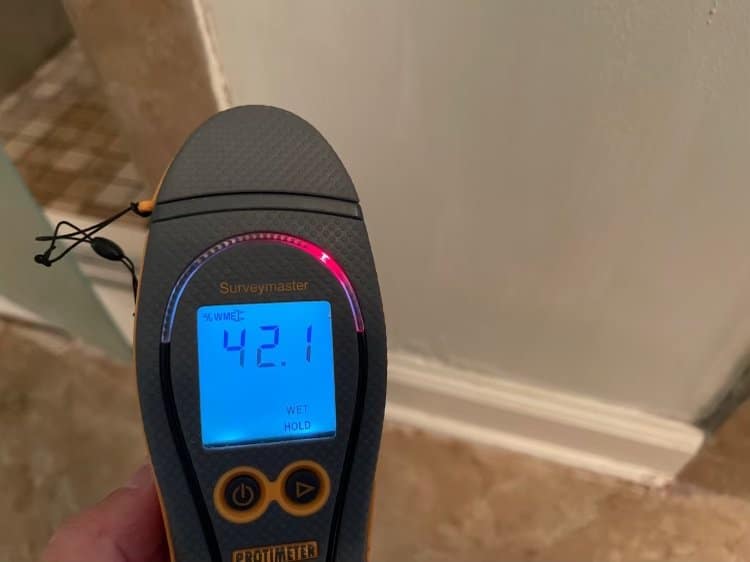
A hidden plumbing leak can divert water and cause pressure loss. About 10% of homes waste 90 gallons or more of water every day from hidden leaks
Look for signs like damp spots, high water bills, mold growth, or water stains on walls and ceilings. Leaks in underground supply lines can go undetected for months without regular inspection.
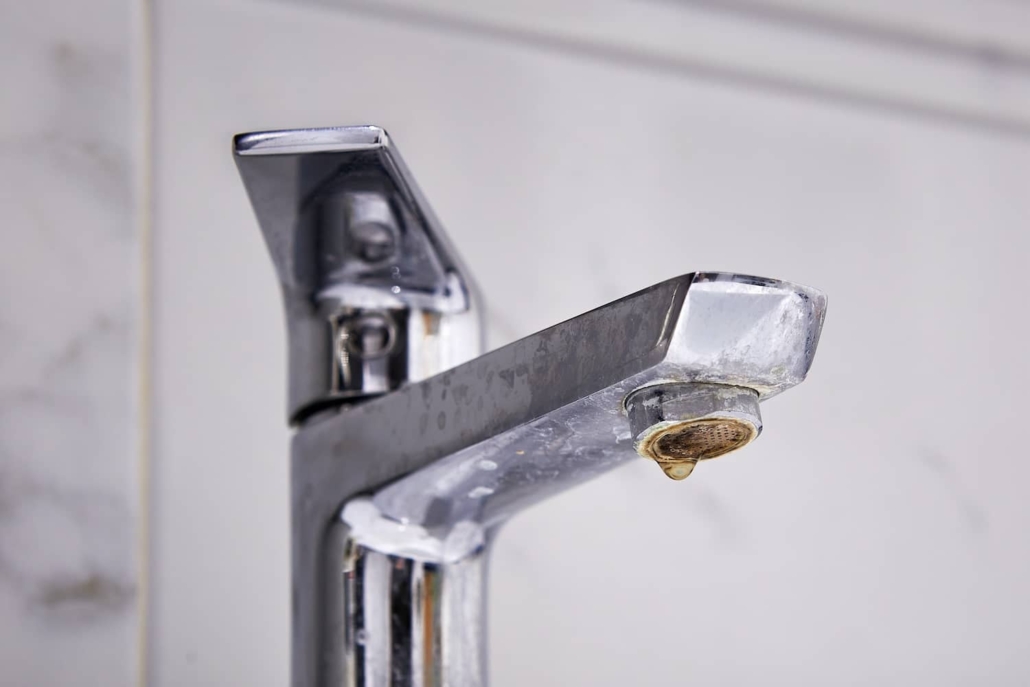
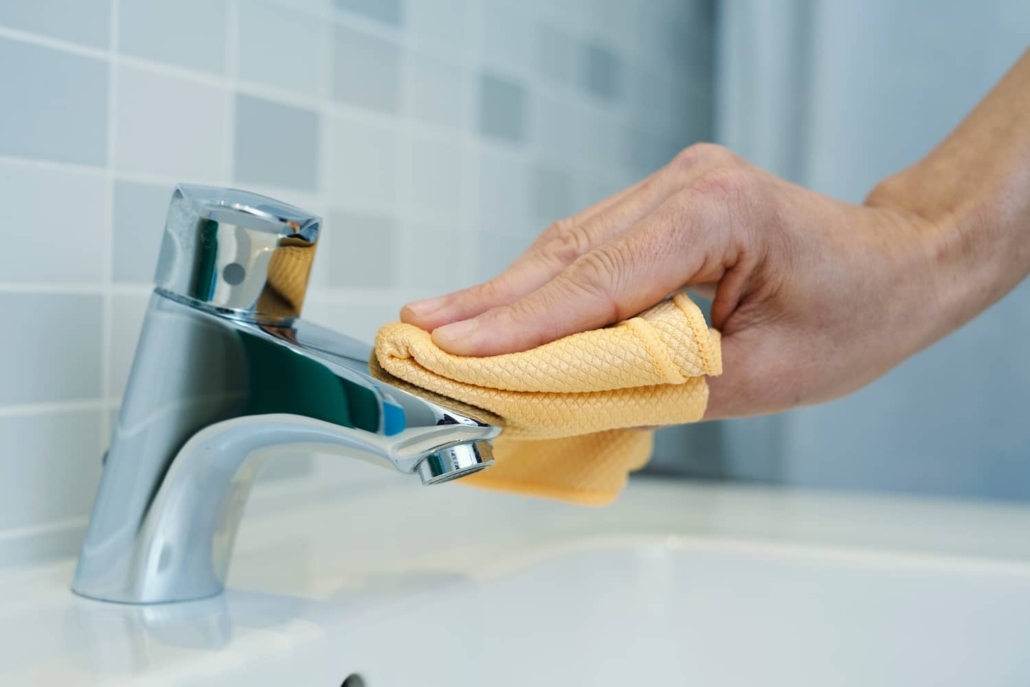
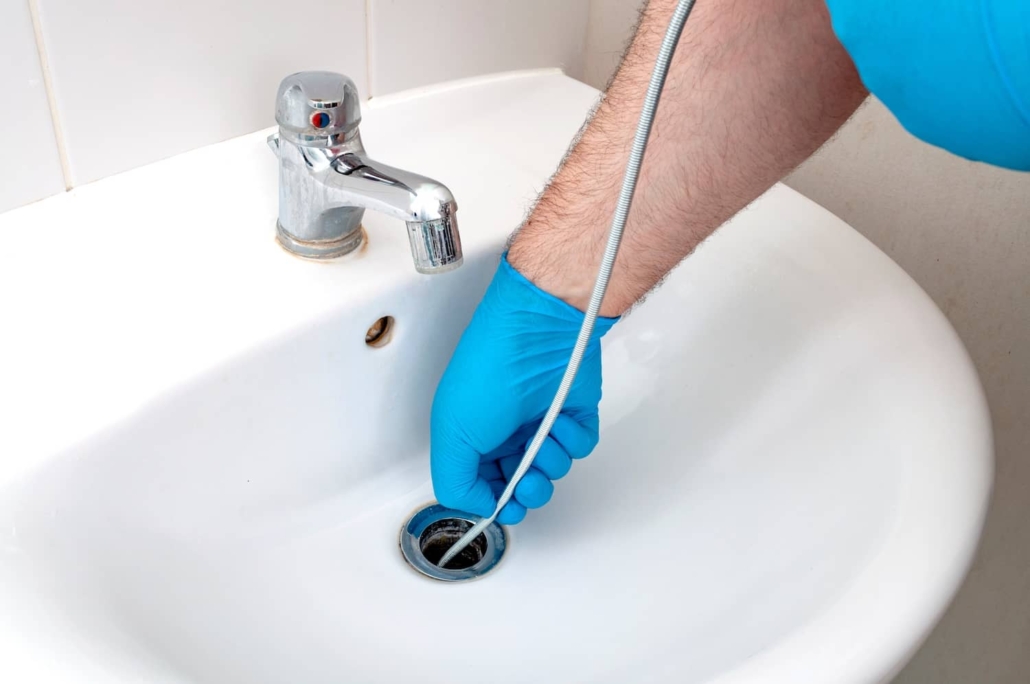
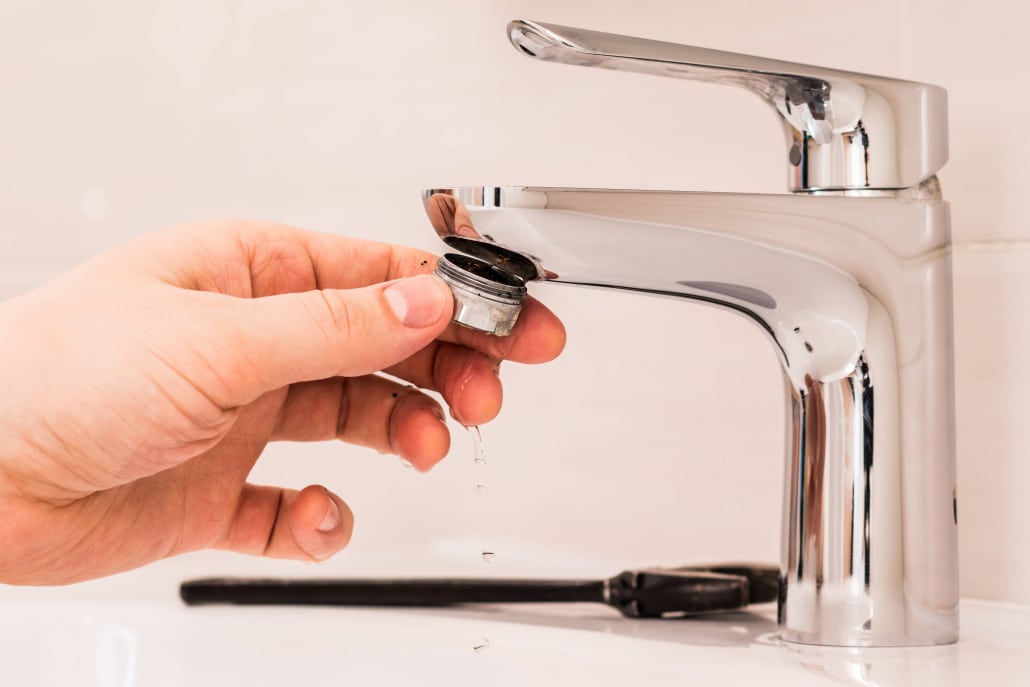
6. Dirty or Clogged Fixtures
Aerators on faucets and showerheads can collect debris or minerals that reduce water output. Cleaning or replacing these parts is an easy fix that restores pressure in a specific fixture.
7. Water Softener Malfunctions
If your home uses a water softener and it clogs or fails, it can restrict the flow of water through the system. Regularly check and maintain your softener according to the manufacturer’s guidelines.
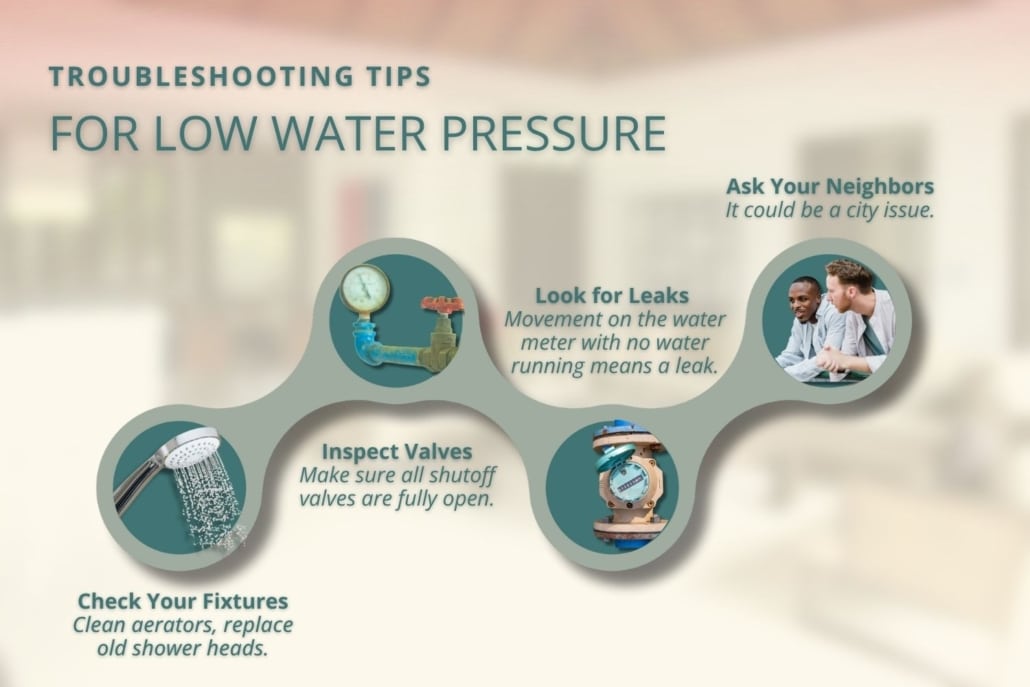
How to Troubleshoot Low Pressure at Home
Start by identifying whether the pressure issue is isolated or throughout the home. That will help narrow down the cause.
- Check individual fixtures. If only one faucet has poor pressure, clean the aerator or replace the showerhead.
- Inspect shutoff valves. Make sure the main water valve and any fixture-specific valves are fully open.
- Look for leaks. Monitor your water meter when no water is running. If the meter continues moving, you may have a leak.
- Ask neighbors. If they also have low pressure, the issue could be with the municipal supply.
- Check the pressure regulator. If your home has a PRV, it may need adjusting or replacing.
- Evaluate your plumbing system. Old homes with mixed pipe types or DIY repairs might have pressure issues caused by poor system design.
If these steps do not resolve the issue, a full home inspection can reveal hidden problems that are not easy to detect without the right tools.
Other Maintenance Checks to Consider
Because low water pressure can signal larger plumbing concerns, this is a great time to schedule a full home inspection. During a standard inspection, we also check for:
- Pipe material and condition
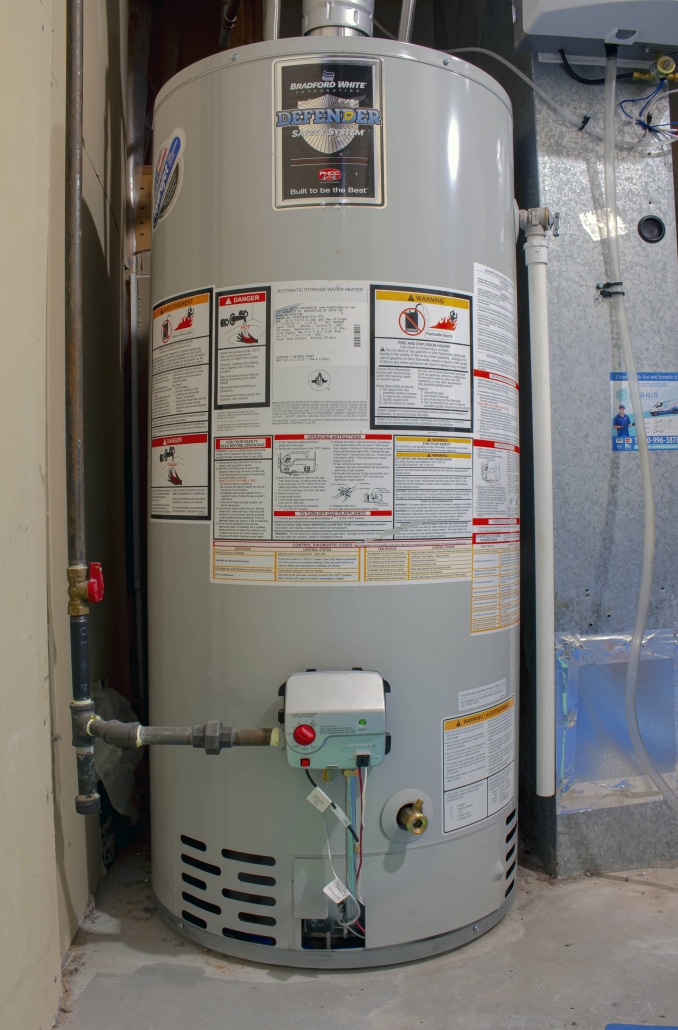
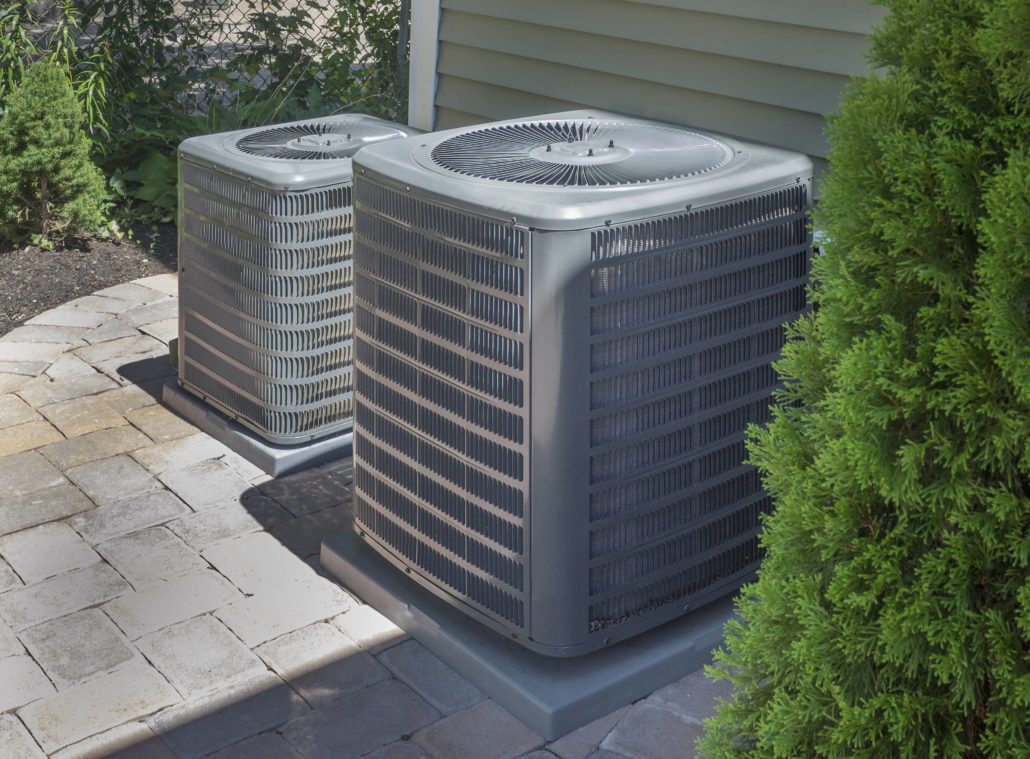
- Water heater age and performance
- Drainage and pressure consistency
- Signs of past or current leaks
- Potential cross-connection issues
- Water meter readings vs usage
At Inside & Out, we often find that water pressure issues lead homeowners to uncover deeper problems that need attention. That is why staying proactive pays off.
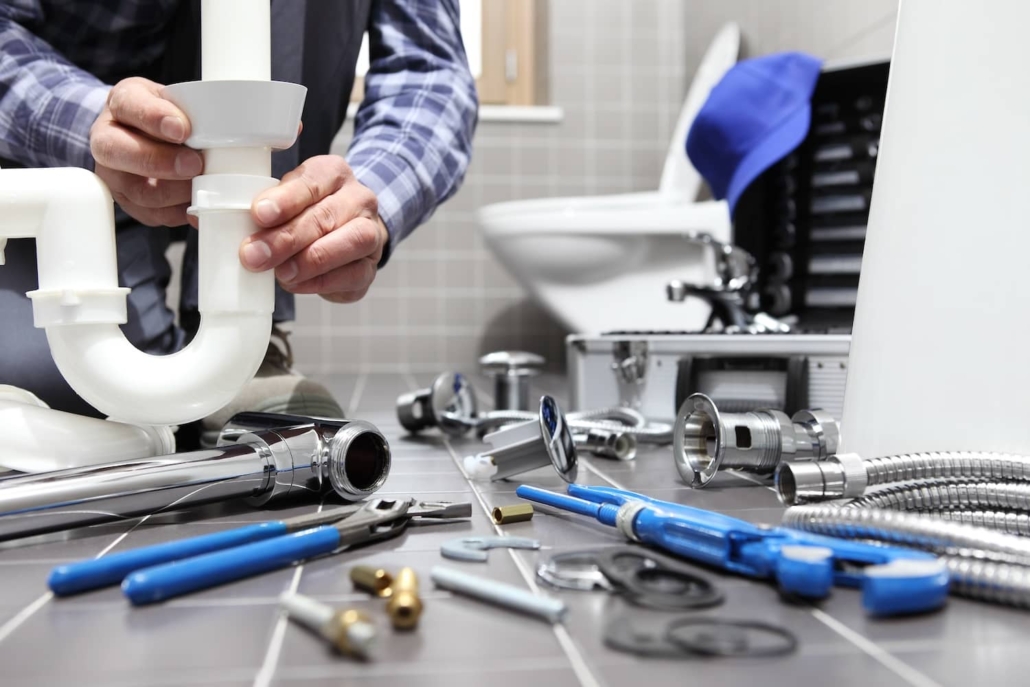
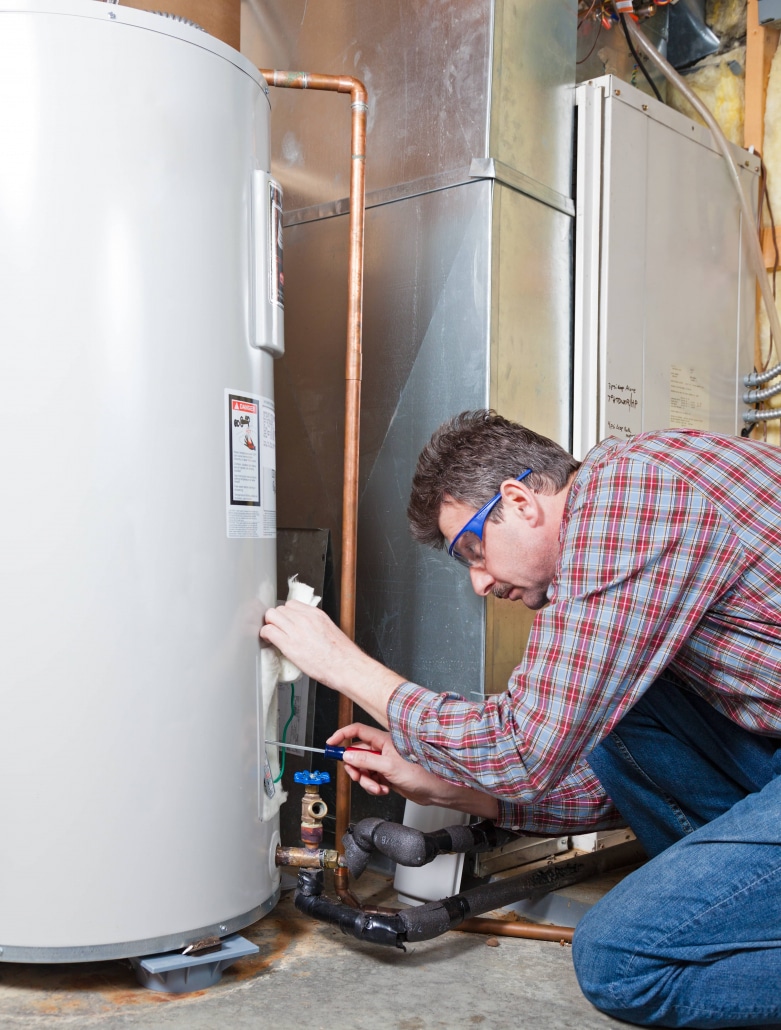
When to Call a Professional
Low water pressure is not always an emergency, but it should not be ignored. It can be a sign of outdated plumbing, slow leaks, or pressure imbalances that affect your water system and appliances over time. Left untreated, this can shorten the life of your water heater, dishwasher, and laundry equipment.
If you live in the Jacksonville area and are noticing consistent pressure drops or unexplained water issues, Inside & Out Property Inspectors can help. We provide detailed plumbing and home system evaluations so you can get to the root of the problem quickly and make informed decisions about your home.
Regular inspections are especially important in homes with older plumbing or if you are preparing to sell. Many buyers request water pressure tests during pre-sale inspections, and addressing issues early helps maintain your home’s value.
Related Questions
How can I test my water pressure at home?
You can use a simple pressure gauge that attaches to an outdoor hose bib. If the reading is under 40 psi, it may be time to investigate further.
Will replacing my pipes improve water pressure?
Yes, especially in older homes with corroded steel pipes. Upgrading to copper or PEX piping can improve flow and reduce long-term maintenance needs.
Is low water pressure dangerous?
Not usually, but it can be a symptom of hidden leaks, failing components, or supply problems. Addressing it early can prevent water damage or plumbing failure.
What does a home inspector look for in a plumbing system?
Inspectors evaluate pressure levels, check for leaks, examine visible pipes, and review fixtures for performance and safety. We also note materials used and highlight risks tied to older systems.
Does water pressure affect appliance efficiency?
Yes. Low pressure can make dishwashers and washing machines less effective, causing them to run longer and use more energy.