
The Perfect Checklist to Have on Hand When You Move Out
Moving out marks the beginning of a new chapter, but it can also come with its fair share of stress. Whether you’re moving across town or the country, having a well-organized move-out checklist can make all the difference. You’ve found just the one!
This post will guide you through every step, from the pre-move plan to settling into your new place. With your handy move-out checklist saved, you can make the transition with ease – let’s get started!
Plan the Move
The checklist starts way before you pack up boxes and move. If you’re able to, start early – earlier than you think you need to! This can make the whole process a lot less stressful and more seamless. Give yourself at least a month to prepare, especially if you have a lot of belongings or are moving long distances.
Know Your Timeline
Before you begin, sit down and segment your moving process into manageable steps. The exact steps will vary from case to case since no move is the same, but here’s a good example:
- 8 Weeks Before Move: Start sorting and decluttering. Research moving companies and gather packing supplies.
- 4 Weeks Before Move: Begin packing non-essential items. Notify important parties of your move.
- 2 Weeks Before Move: Confirm moving arrangements. Continue packing and start cleaning.
- 1 Week Before Move: Pack essential items and prepare for moving day. Do a final walk-through to ensure nothing is left behind.
Gather Supplies
For most moves, having a few essential items on hand will make packing and unpacking much easier. Your move-out supply checklist might look something like this:
- Boxes: Various sizes for different items.
- Packing Tape: Strong tape to secure boxes.
- Markers: For labeling boxes.
- Bubble Wrap: To protect fragile items.
- Packing Paper: To wrap and cushion belongings.

Declutter and Organize
Then, you can decide what to keep, sell, donate, or toss. What a great opportunity to lighten your load and start fresh in your new place! Ask yourself if you’ve used an item in the past year – if not, consider letting it go.
While this step can seem a little overwhelming, there are a couple of ways you can make it a less tedious process.
Rooms and Spaces
Tackling one room at a time can keep the process manageable. Start with rooms you use the least, like guest rooms or storage areas. This way, you can pack up spaces first that won’t disrupt your daily life too long beforehand. For example, your flow could look similar to this:
- Guest rooms and bathrooms
- Storage areas like the basement or attic
- Closet non-essentials (you won’t need your winter coats for a while if you’re moving in the summertime).
- Living and dining rooms
- Main bedrooms, remaining closet contents
- Kitchen and pantry
However, as mentioned above, your packing order will depend entirely on your moving circumstances, preferences, and timeline. The objective is just to make sure it’s manageable!
Label Everything
Clearly label each box with its contents and the room it belongs to. It may seem like a small thing, but your future self will thank you. This will also help movers know where to place each box in your new home. For added organization (or fun), you can use color-coded labels for different rooms.
Change of Address
Ideally, you’ll be able to update your address with key organizations and services prior to the move. That way, it’s done and your main focus can be unpacking at your new place. Here’s a checklist of where you’ll probably need to change your address:
- USPS: Submit a change of address form online or at your local post office to forward your mail.
- Banks and Credit Cards: Update your address with your bank and credit card companies to ensure you receive important statements and notifications.
- Subscriptions and Memberships: Update your address for any magazine subscriptions, streaming services, or memberships.
- Insurance Providers: Notify your health, dental, car, and home insurance providers of your new address.
- Employer: Make sure your HR department has your new address for payroll and tax purposes.
Other Contacts to Notify
- Family and Friends: Share your new address with close family and friends.
- Medical Providers: Inform your doctor, dentist, and any specialists of your new address, and request medical records if you’re changing providers.
- Schools: Notify your child’s school of the move and arrange for records to be transferred if necessary.
Utilities and Services
This could be easy to forget while you’re in the middle of it all! Make sure to manage your utilities and services at the old address and the new one.
- Disconnect Services: Schedule the disconnection of utilities at your old place (electricity, water, gas, internet, cable) for the day after you move out.
- Connect Services: Arrange for utilities to be connected at your new home before you move in.
- Service Providers: Notify your internet, cable, and phone providers of your move to transfer or cancel services as needed.
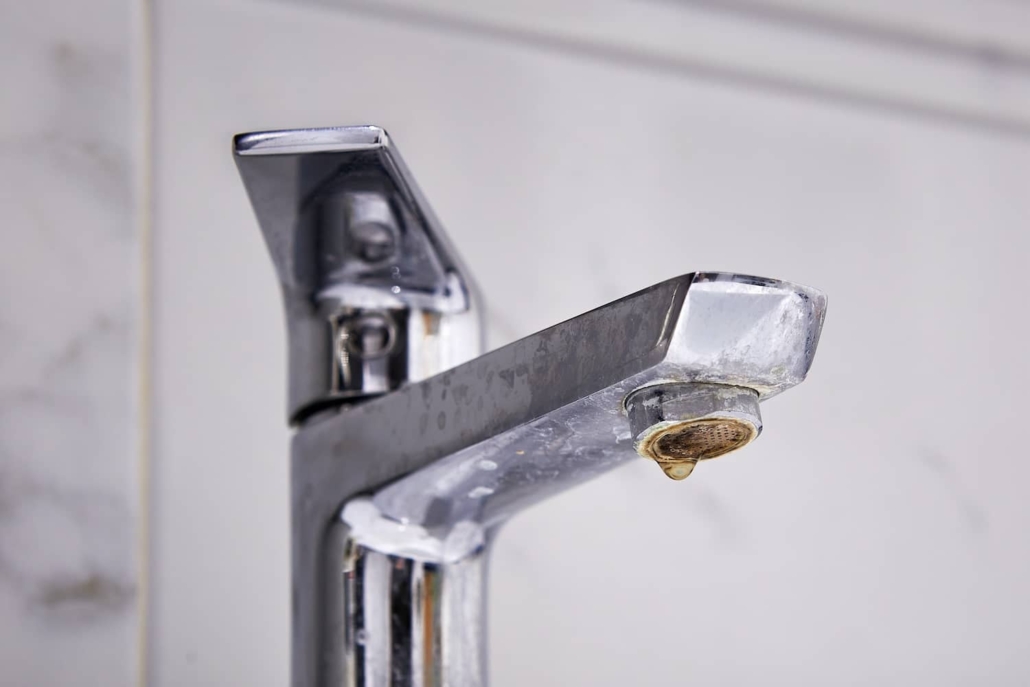
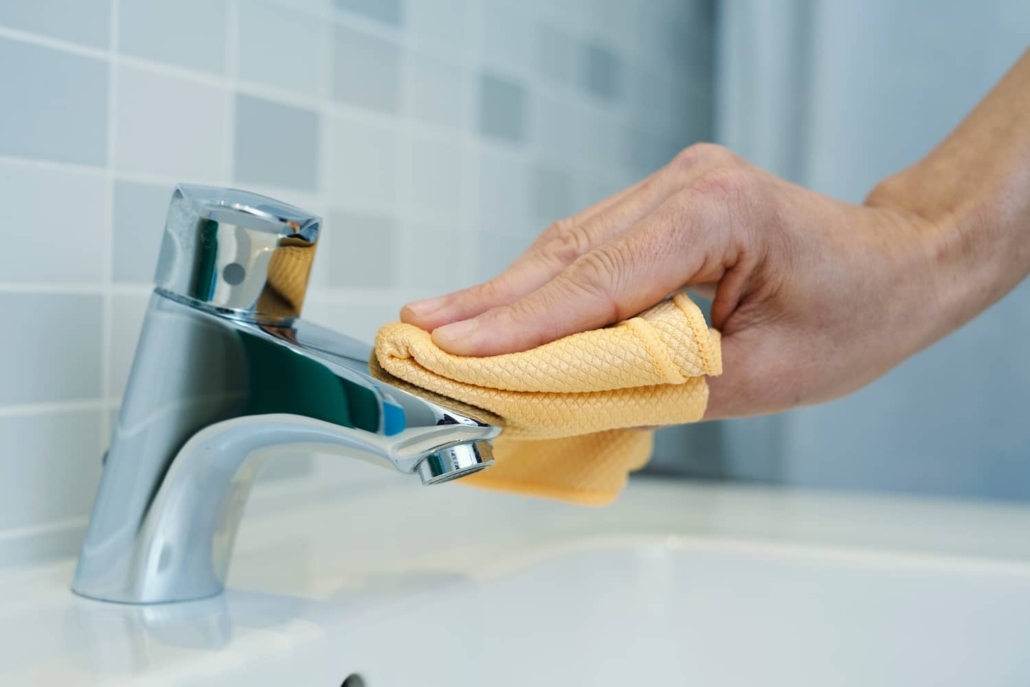
Cleaning, Replacements, and Repairs
Now comes the fun part. A thorough cleaning will help you leave your old home in good condition and can even help you get your security deposit back if you’re renting.
Taking this step room-by-room is helpful – you can align it with your packing plan or start with the hardest jobs first and go from there.
- Kitchen: Clean appliances inside and out, wipe down cabinets and counters, and scrub the sink.
- Bathrooms: Scrub the tub and shower, clean the toilet and sink, and wipe down mirrors and cabinets.
- Living Areas: Dust all surfaces, vacuum carpets, and mop hard floors.
- Bedrooms: Dust, vacuum, and wipe down any surfaces, including inside closets.
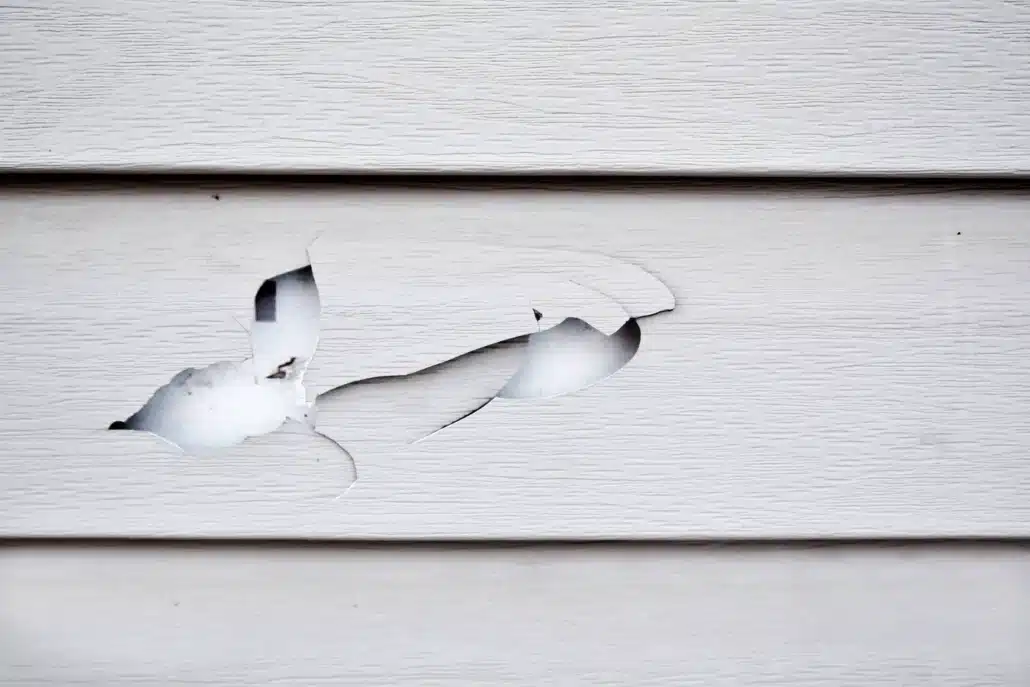
Final Lap and Minor Fixes
Before you call the move complete, cross off one final box on the checklist. Take an in-depth look around before handing over your keys and calling it a day. This is when you’ll make sure nothing is left behind, turned on, or otherwise in need of attention.
- Check Closets and Cabinets: Ensure nothing is left behind.
- Fixtures: Repair or replace broken light fixtures, blinds, or door handles.
- Patch Holes: Use spackle to fill nail holes and touch up with paint.
- Paint Touch-Ups: Cover any scuffs or marks on the walls with matching paint.
- Secure the Property: Finally, lock all doors and windows.
Tips for Smoother Packing
Everyone knows how overwhelming getting started can be. If you’re struggling with packing, you’re not alone – so, here are a few tips:
- Essentials Box: Pack a box of essentials that you’ll need immediately after moving. For instance, your toothbrush and other toiletries, blankets/bedding, a few basic kitchen items, pet food, medications, or important documents.
- Fragile Items: Wrap fragile items in bubble wrap or packing paper. Use towels or clothes to cushion them in boxes.
- Clothing: Pack clothes in suitcases or wardrobe boxes to keep them from getting wrinkled.
- Books and Heavy Items: Use small boxes for heavy items like books to make them easier to carry.

Moving Day and Settling In
Moving day can be one of the most hectic days of the entire moving process. Being prepared with a well-thought-out moving day kit will be especially important if you’re moving a long distance or with the whole family.
To travel with you and your essentials box, make sure to bring or plan for:
- Food, drinks
- Pet food, treats, bowls, leashes
- The new keys
- Phone chargers
- A first-aid kit
- Scissors and tape
- Trash bags, a broom, hand sanitizer, paper towels
- Saved and or printed directions to your new place
What Now?
When you’re officially moved out, it can feel bittersweet. So, when you arrive at your new home, the goal is to settle in as quickly and comfortably as possible.
Control the unpacking chaos by unpacking essentials first, organizing key areas, connecting utilities and services, doing a quick safety check, getting something in the refrigerator, meeting your new neighbors, and thinking about how you’ll decorate the space.
When to Call a Professional
Moving can be overwhelming, and sometimes calling an expert can save you time, stress, and even money. You might want to hire professional movers if:
- If you’re moving a significant distance or have a large home with many belongings, professional movers can handle the logistics and heavy lifting.
- Items like pianos, artwork, antiques, and large furniture require special handling. Professional movers know how to pack and transport these items safely, reducing the risk of damage.
- If you’re on a tight schedule, professional movers can expedite the process. Their efficiency can help you meet deadlines without sacrificing the safety of your belongings.
- If you have health issues or physical limitations, hiring professionals can prevent injury and make the move less physically demanding.
Inspectors
Equally important, before selling your old home or finalizing the purchase of a new one, a professional home inspection will identify potential issues.
Similarly, ensuring your new home is pest-free is crucial. Professional pest inspectors can detect and address any infestations before you move in, giving you peace of mind.
Conclusion
Any time you move out can be a whirlwind of emotions and tasks, but with your prepared checklist in hand, you can tackle it head-on. Make sure to plan your timeline, gather all the right supplies, and know when to call in the pros to ensure minimal moving stress. To schedule a home inspection in Atlanta, GA, and surrounding areas, call Inside and Out Property Inspections.